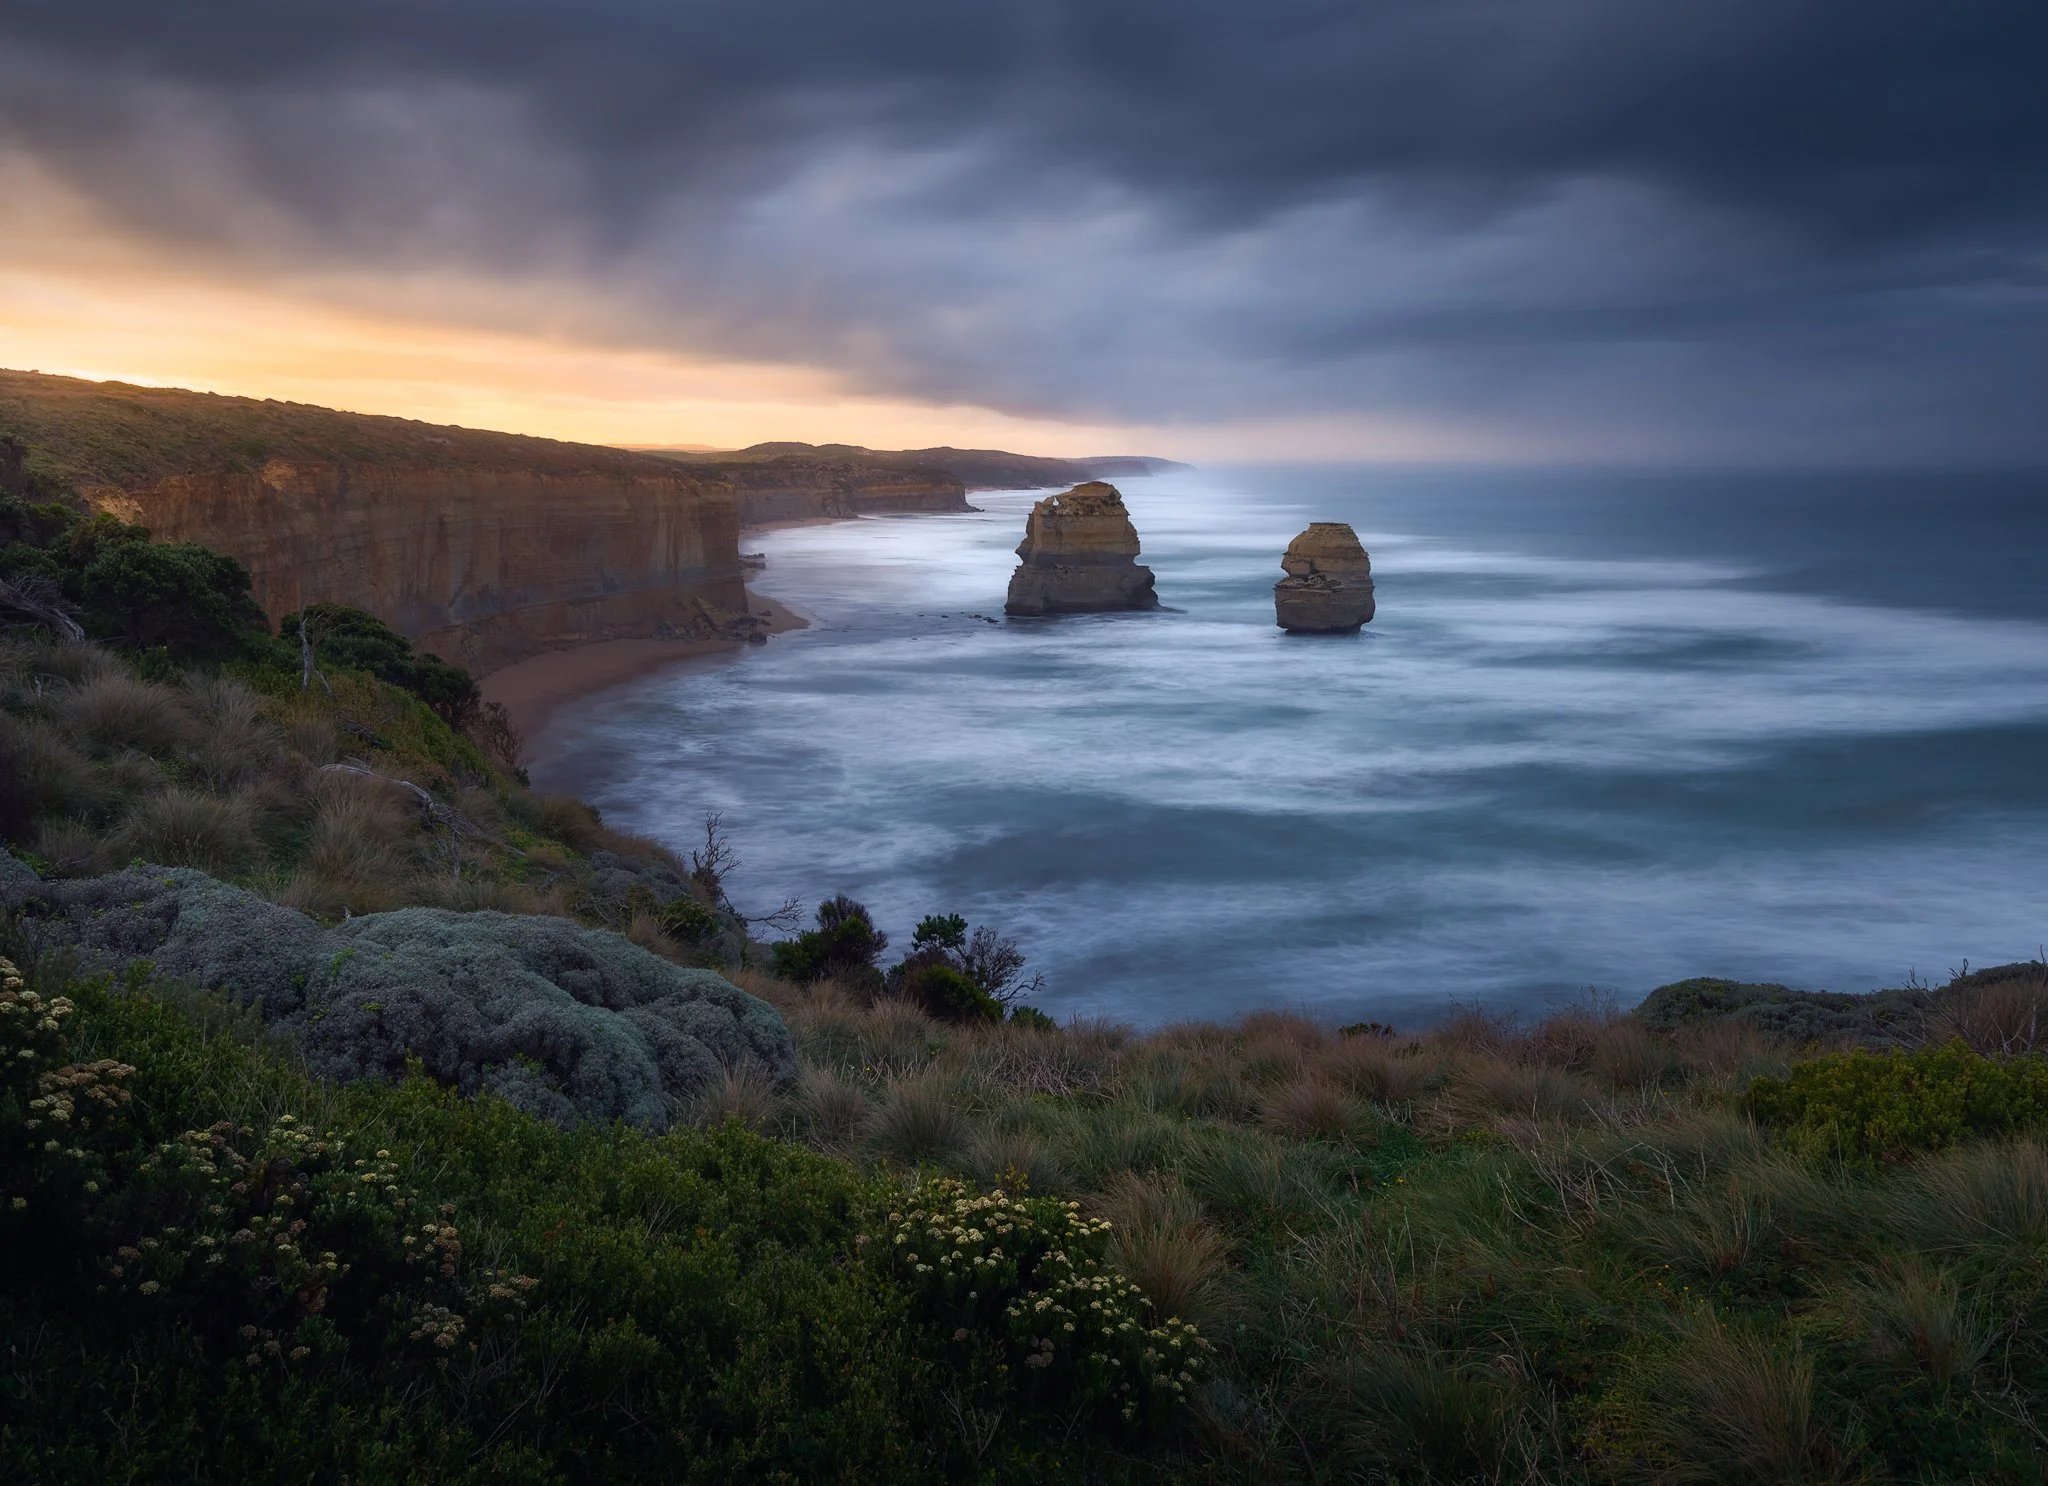
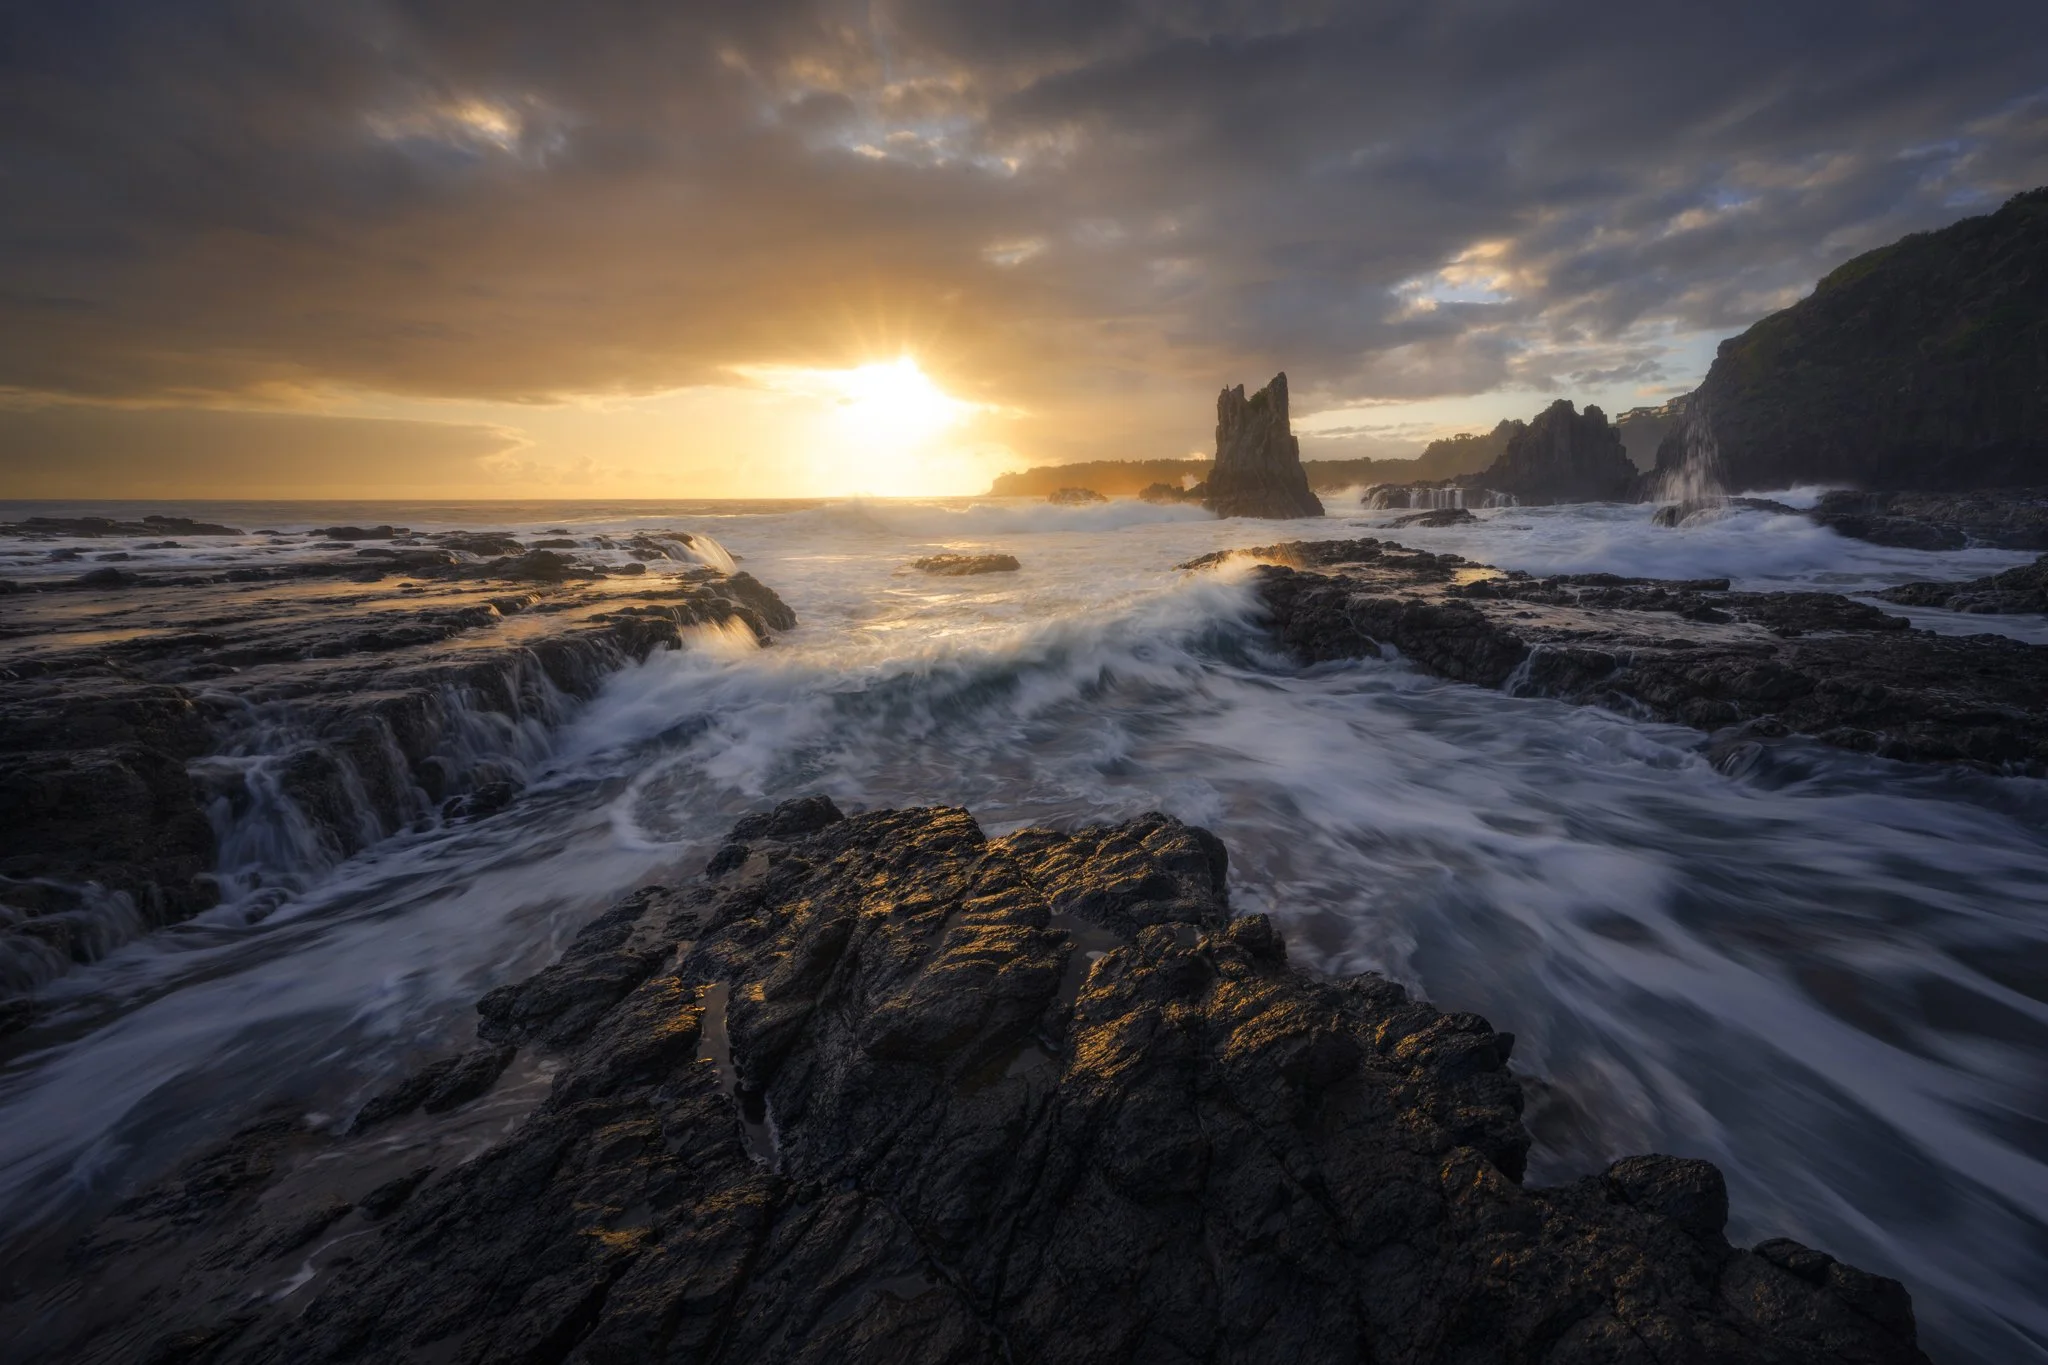
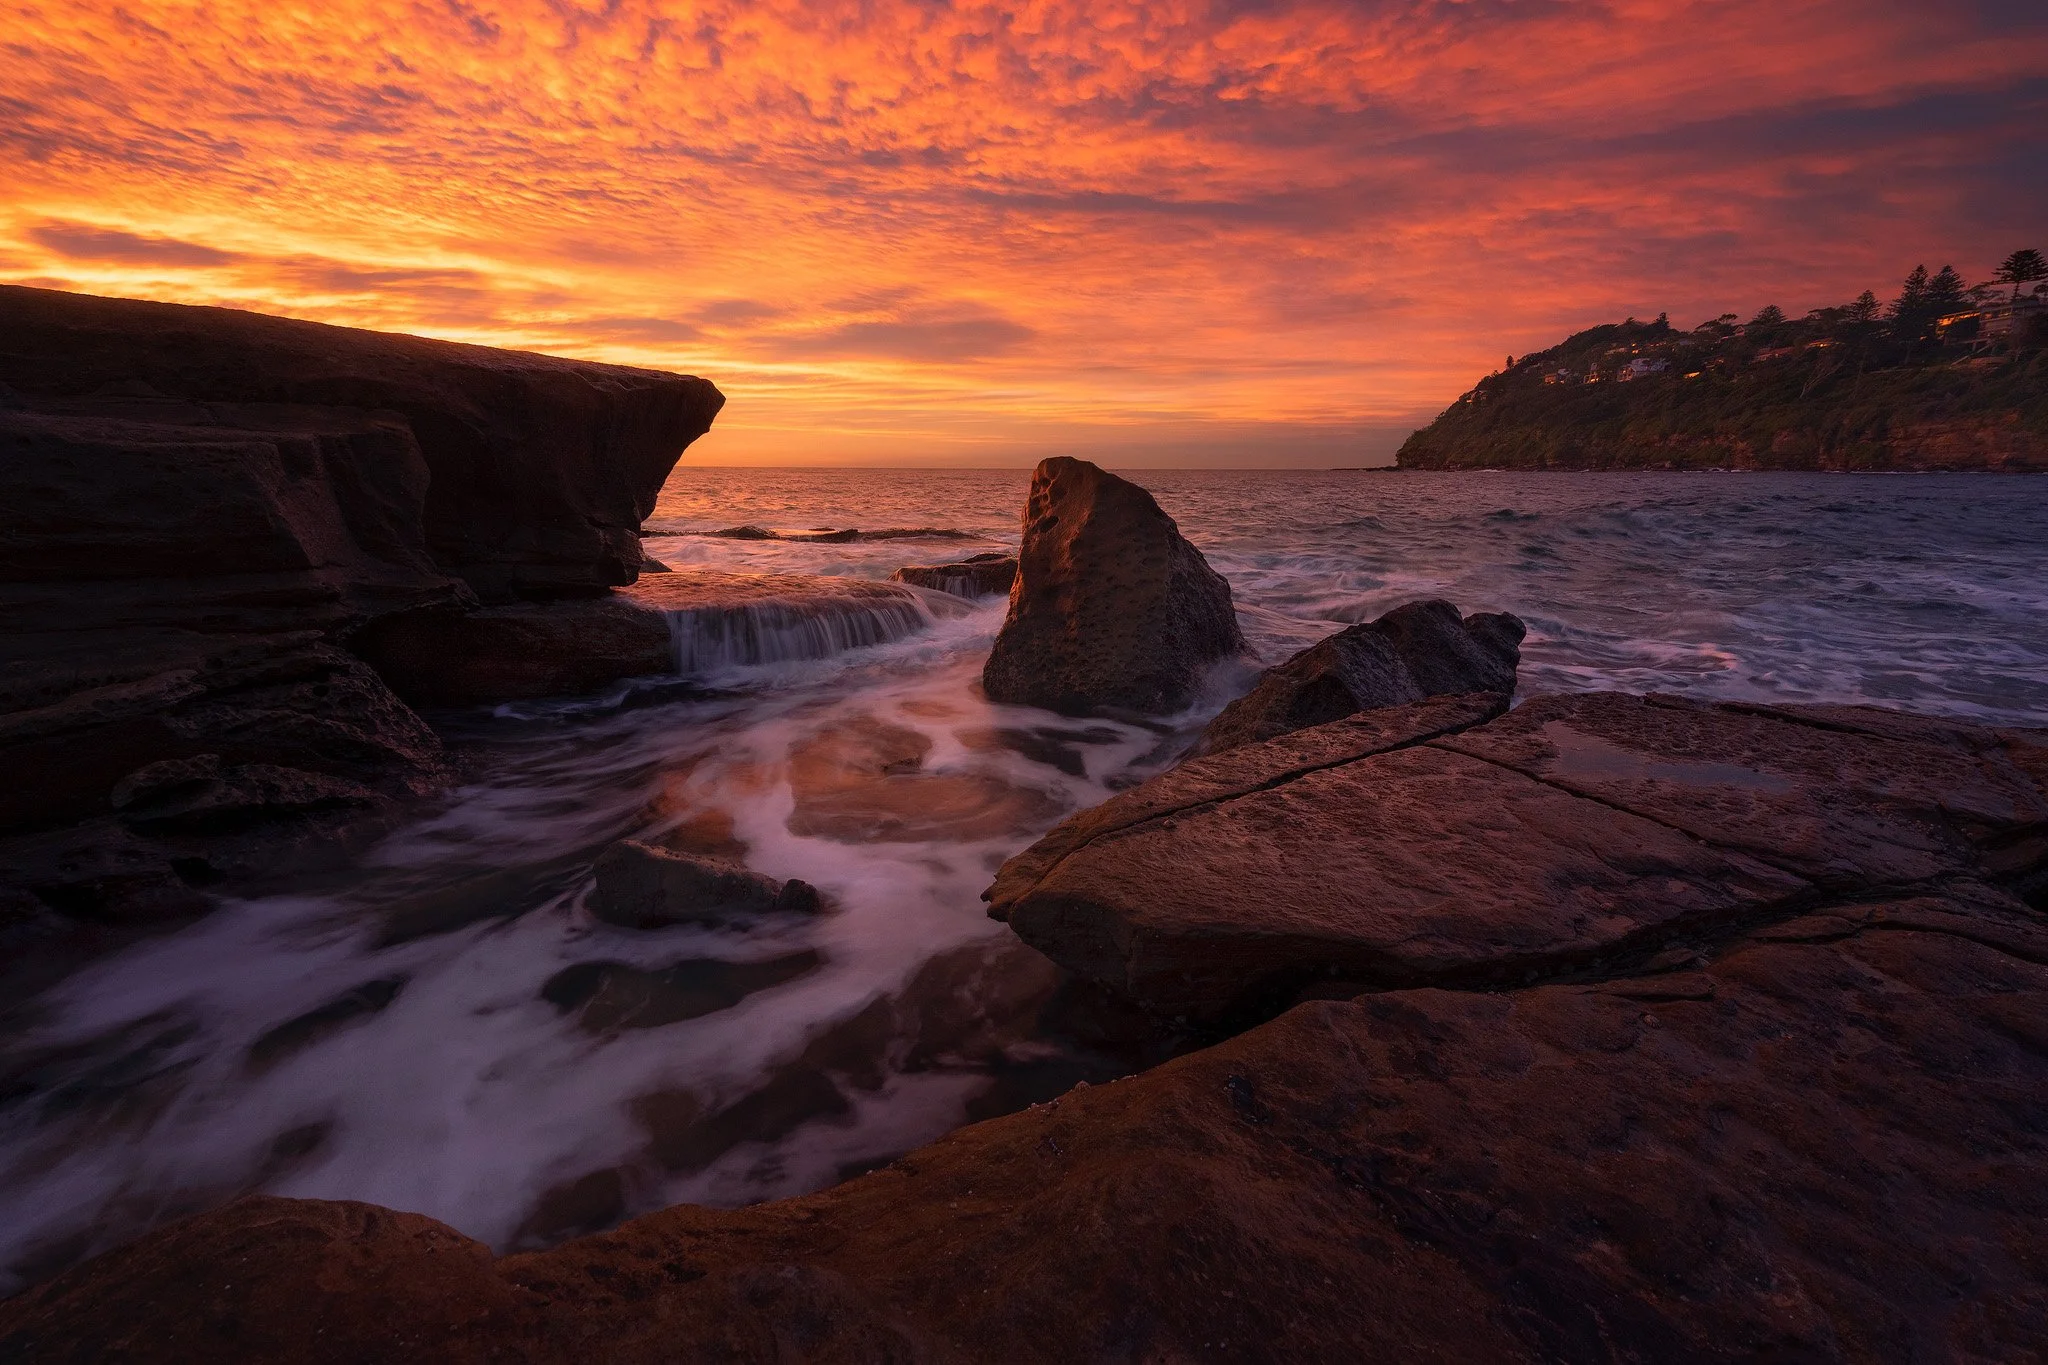
Composition and what you need to know!

The 8 Essential Rules of Composition for Stunning Photography

Composition is the foundation of every great photograph. While creativity and spontaneity play vital roles, following a few tried-and-tested guidelines can significantly improve your shots. Here are the 8 essential composition rules to elevate your photography.

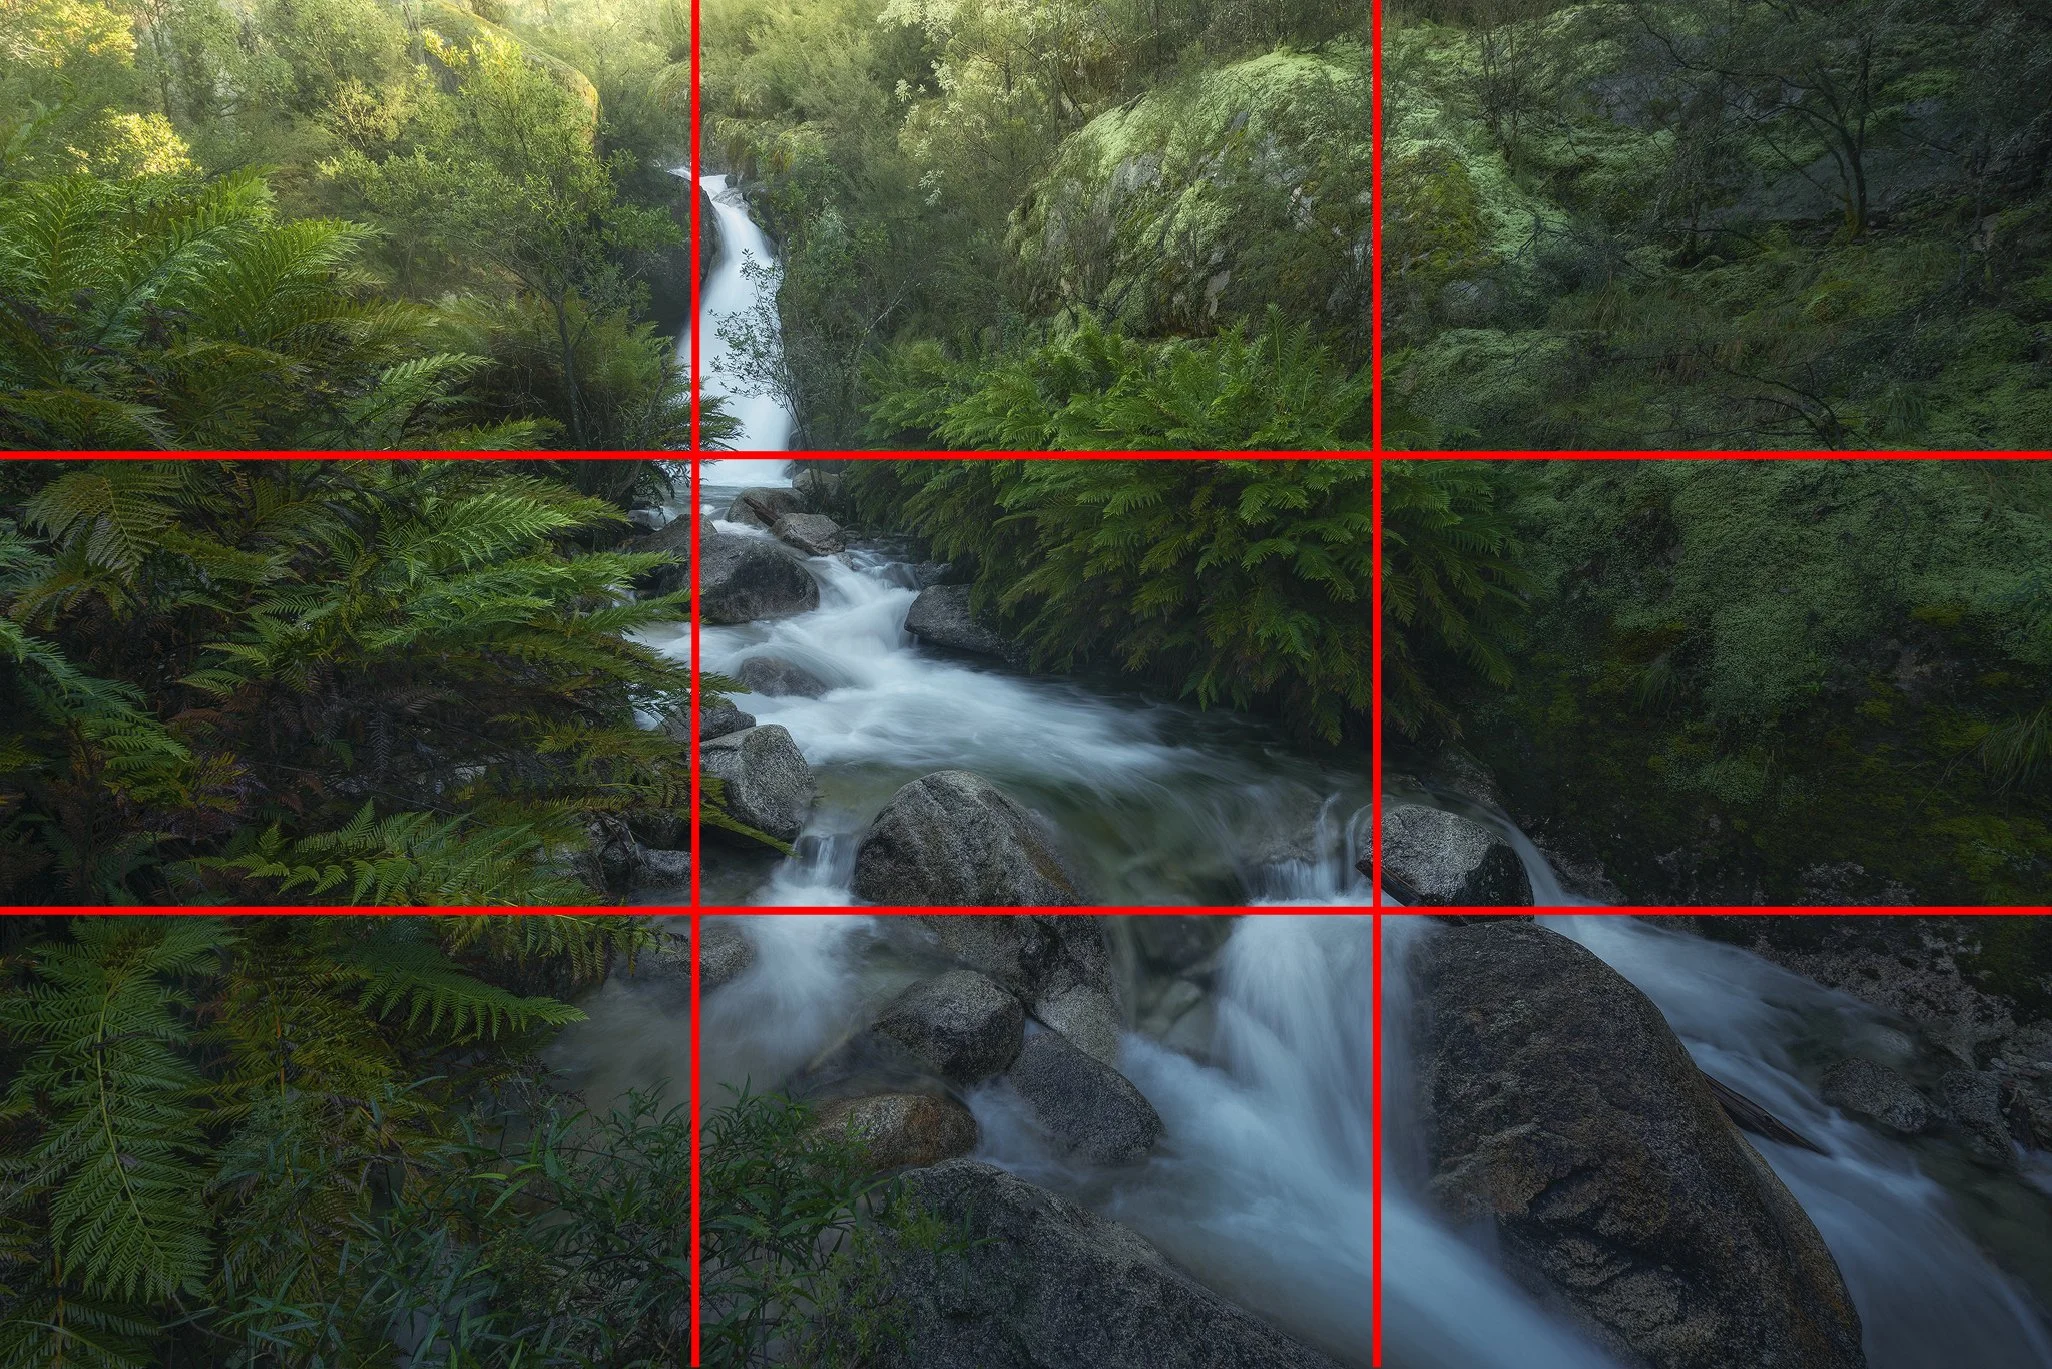
1. Rule of Thirds

The rule of thirds is a classic principle for good reason. Imagine dividing your frame into a 3x3 grid. By placing your subject along the lines or at the intersections, you create balance and visual interest. This technique prevents your subject from feeling too centred, which can sometimes look static. It’s particularly effective for landscapes and portraits, where the eye naturally gravitates to the intersections.

Example of rule of thirds

2. Leading Lines

Lines are everywhere – in roads, rivers, fences, and even shadows. Use them to direct the viewer’s eye to your subject. Whether they’re straight, curved, or zigzagged, leading lines add depth and help tell a story. They also provide a sense of movement, guiding the viewer’s gaze naturally through the scene.

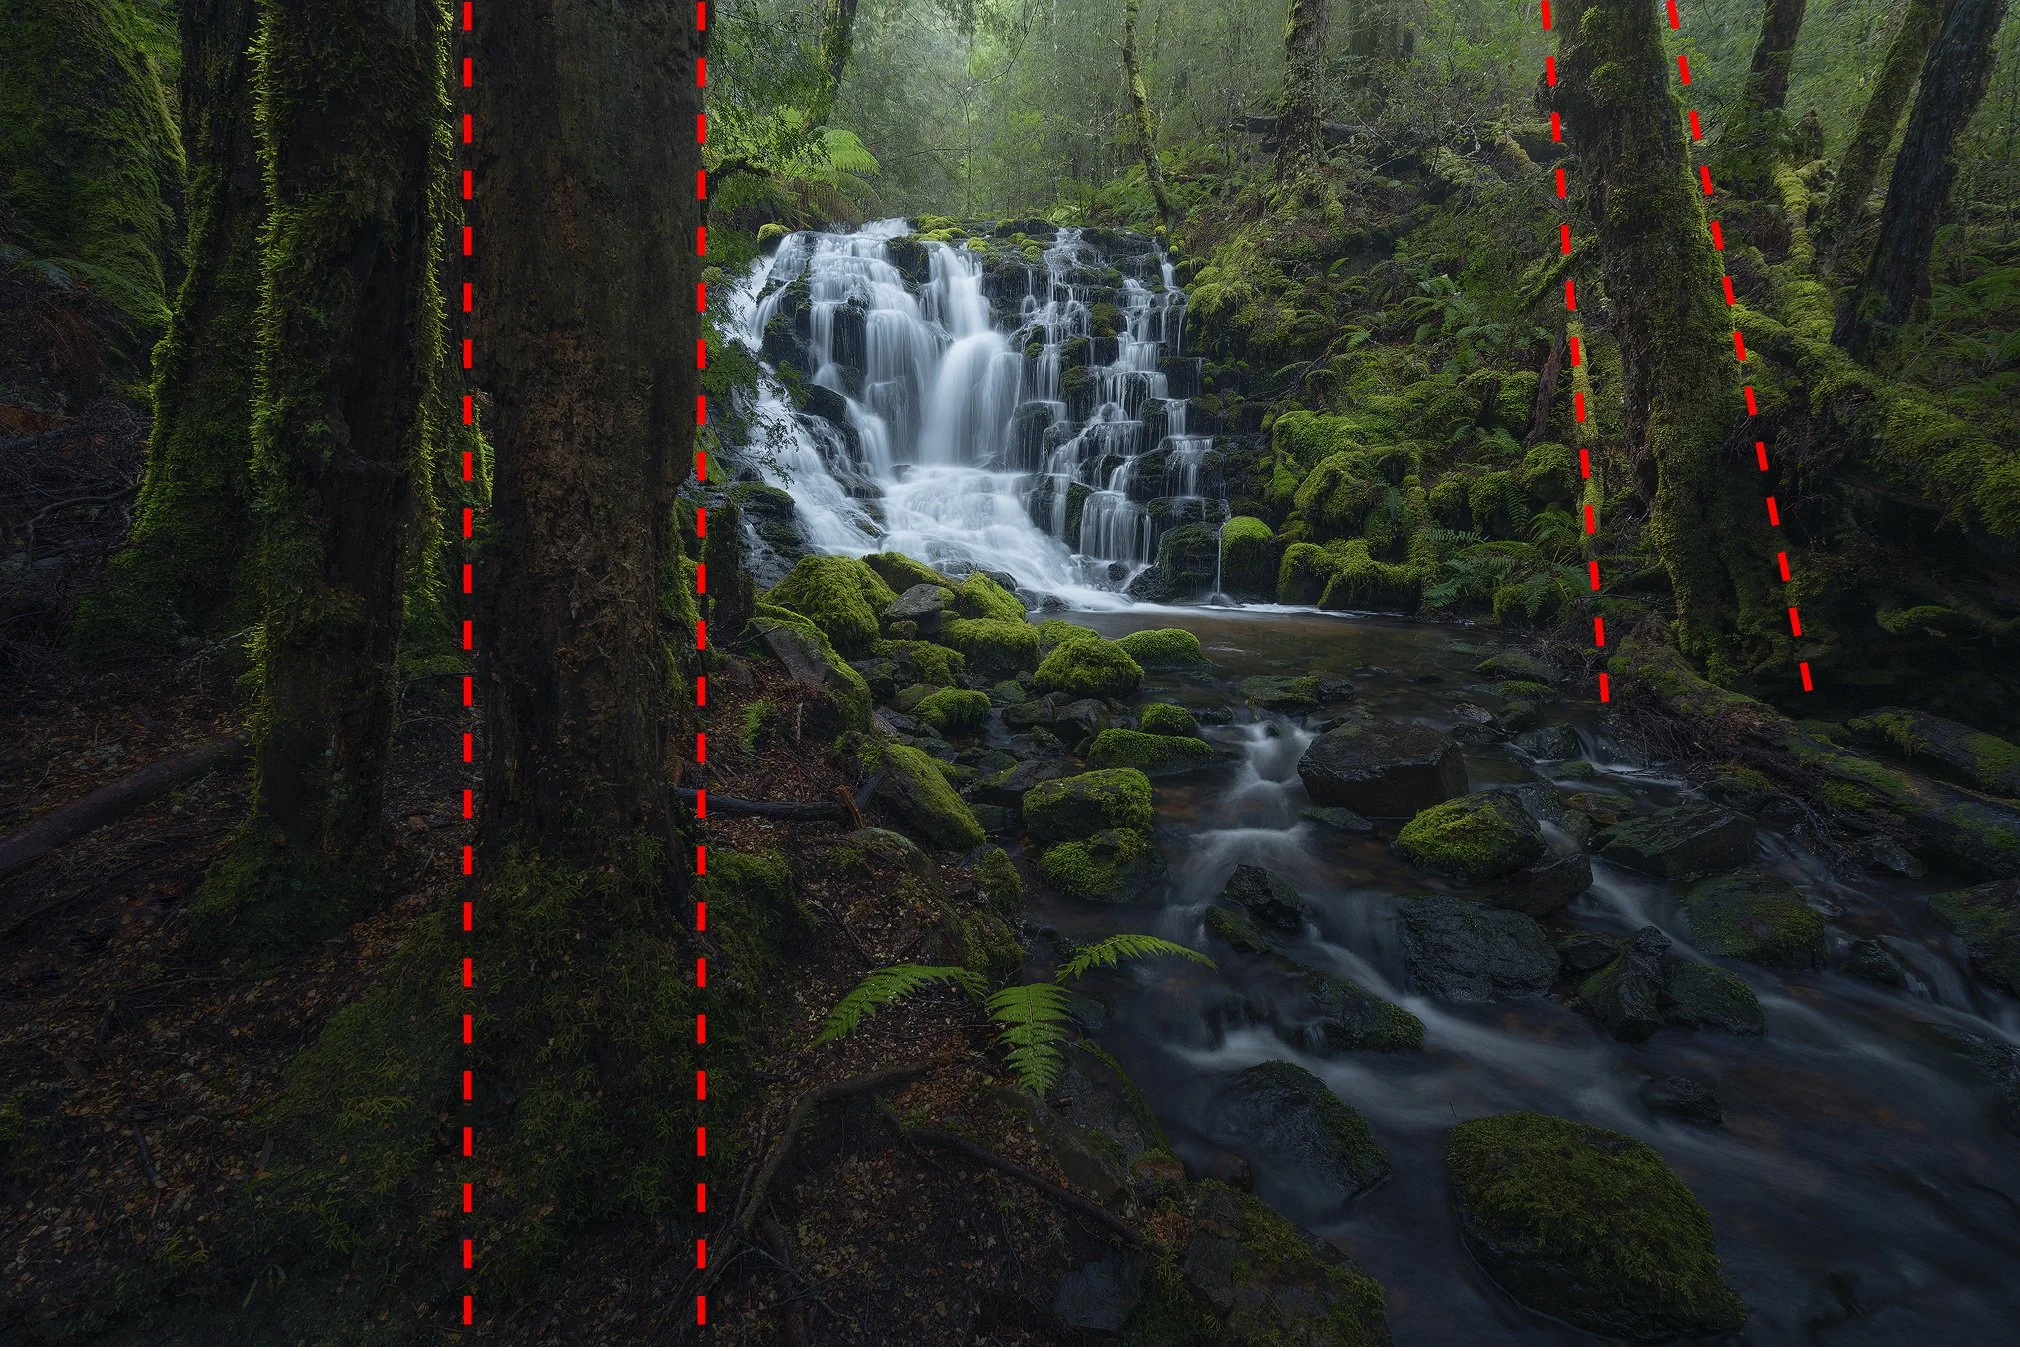
3. Framing

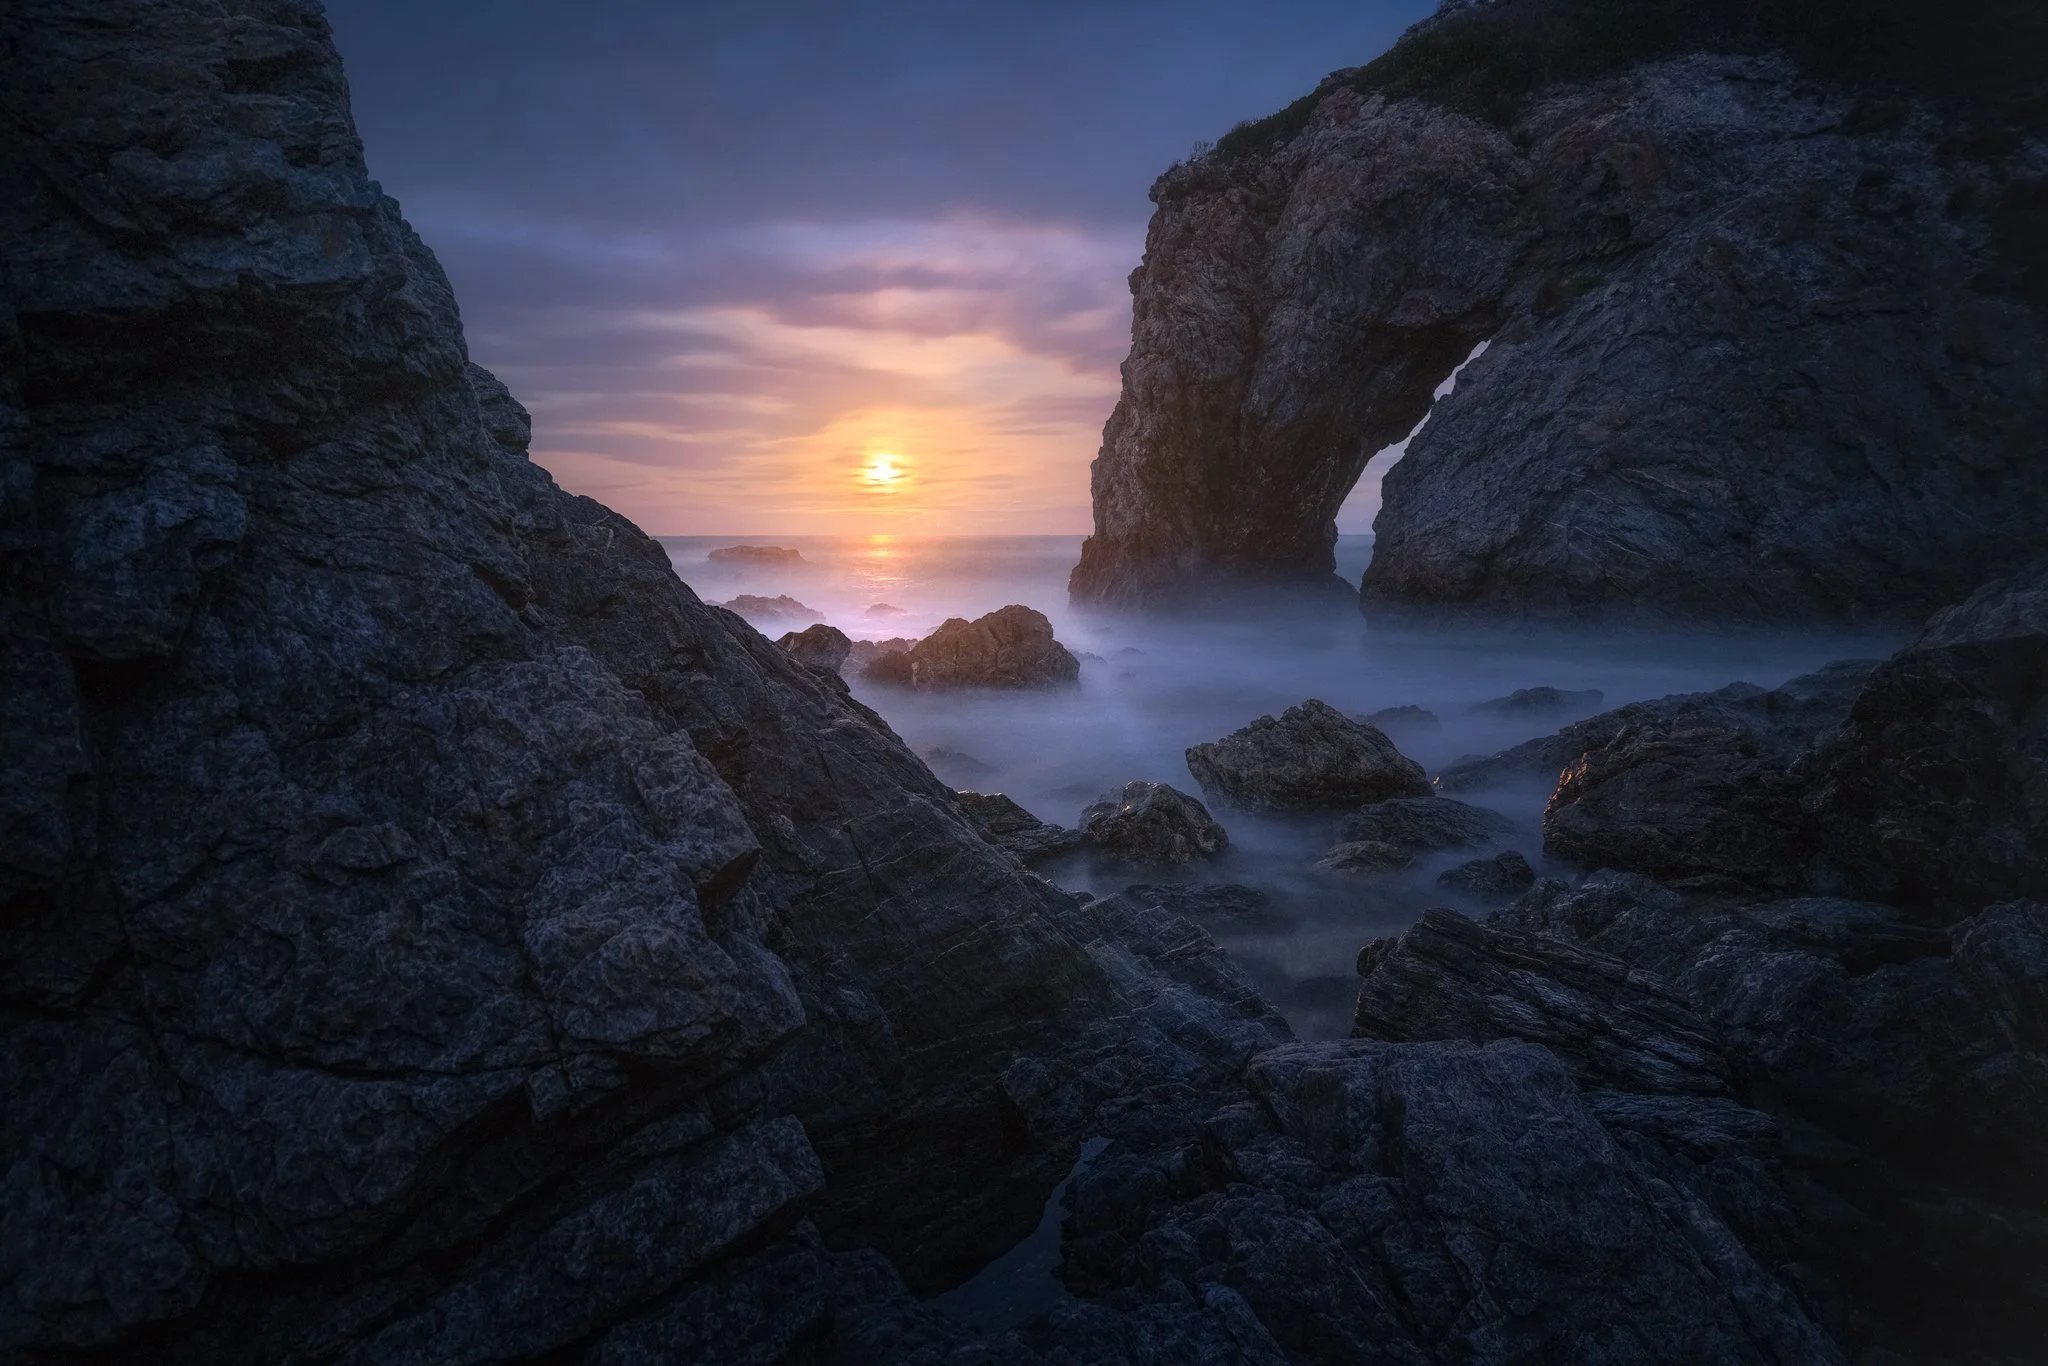
Natural frames like windows, doorways, or tree branches can focus attention on your subject and add a sense of depth. Think of framing as giving your subject its own spotlight within the photo. It also adds a layer of context to your image, showing where your subject fits within the environment.

4. Symmetry and Balance

We are naturally drawn to symmetry. A symmetrical composition feels harmonious and satisfying, while a balanced composition uses unequal elements to create stability. Both approaches can work wonders depending on the mood you want. For instance, symmetrical shots can evoke calm, while balanced asymmetry often feels more dynamic.

5. Foreground, Midground, and Background

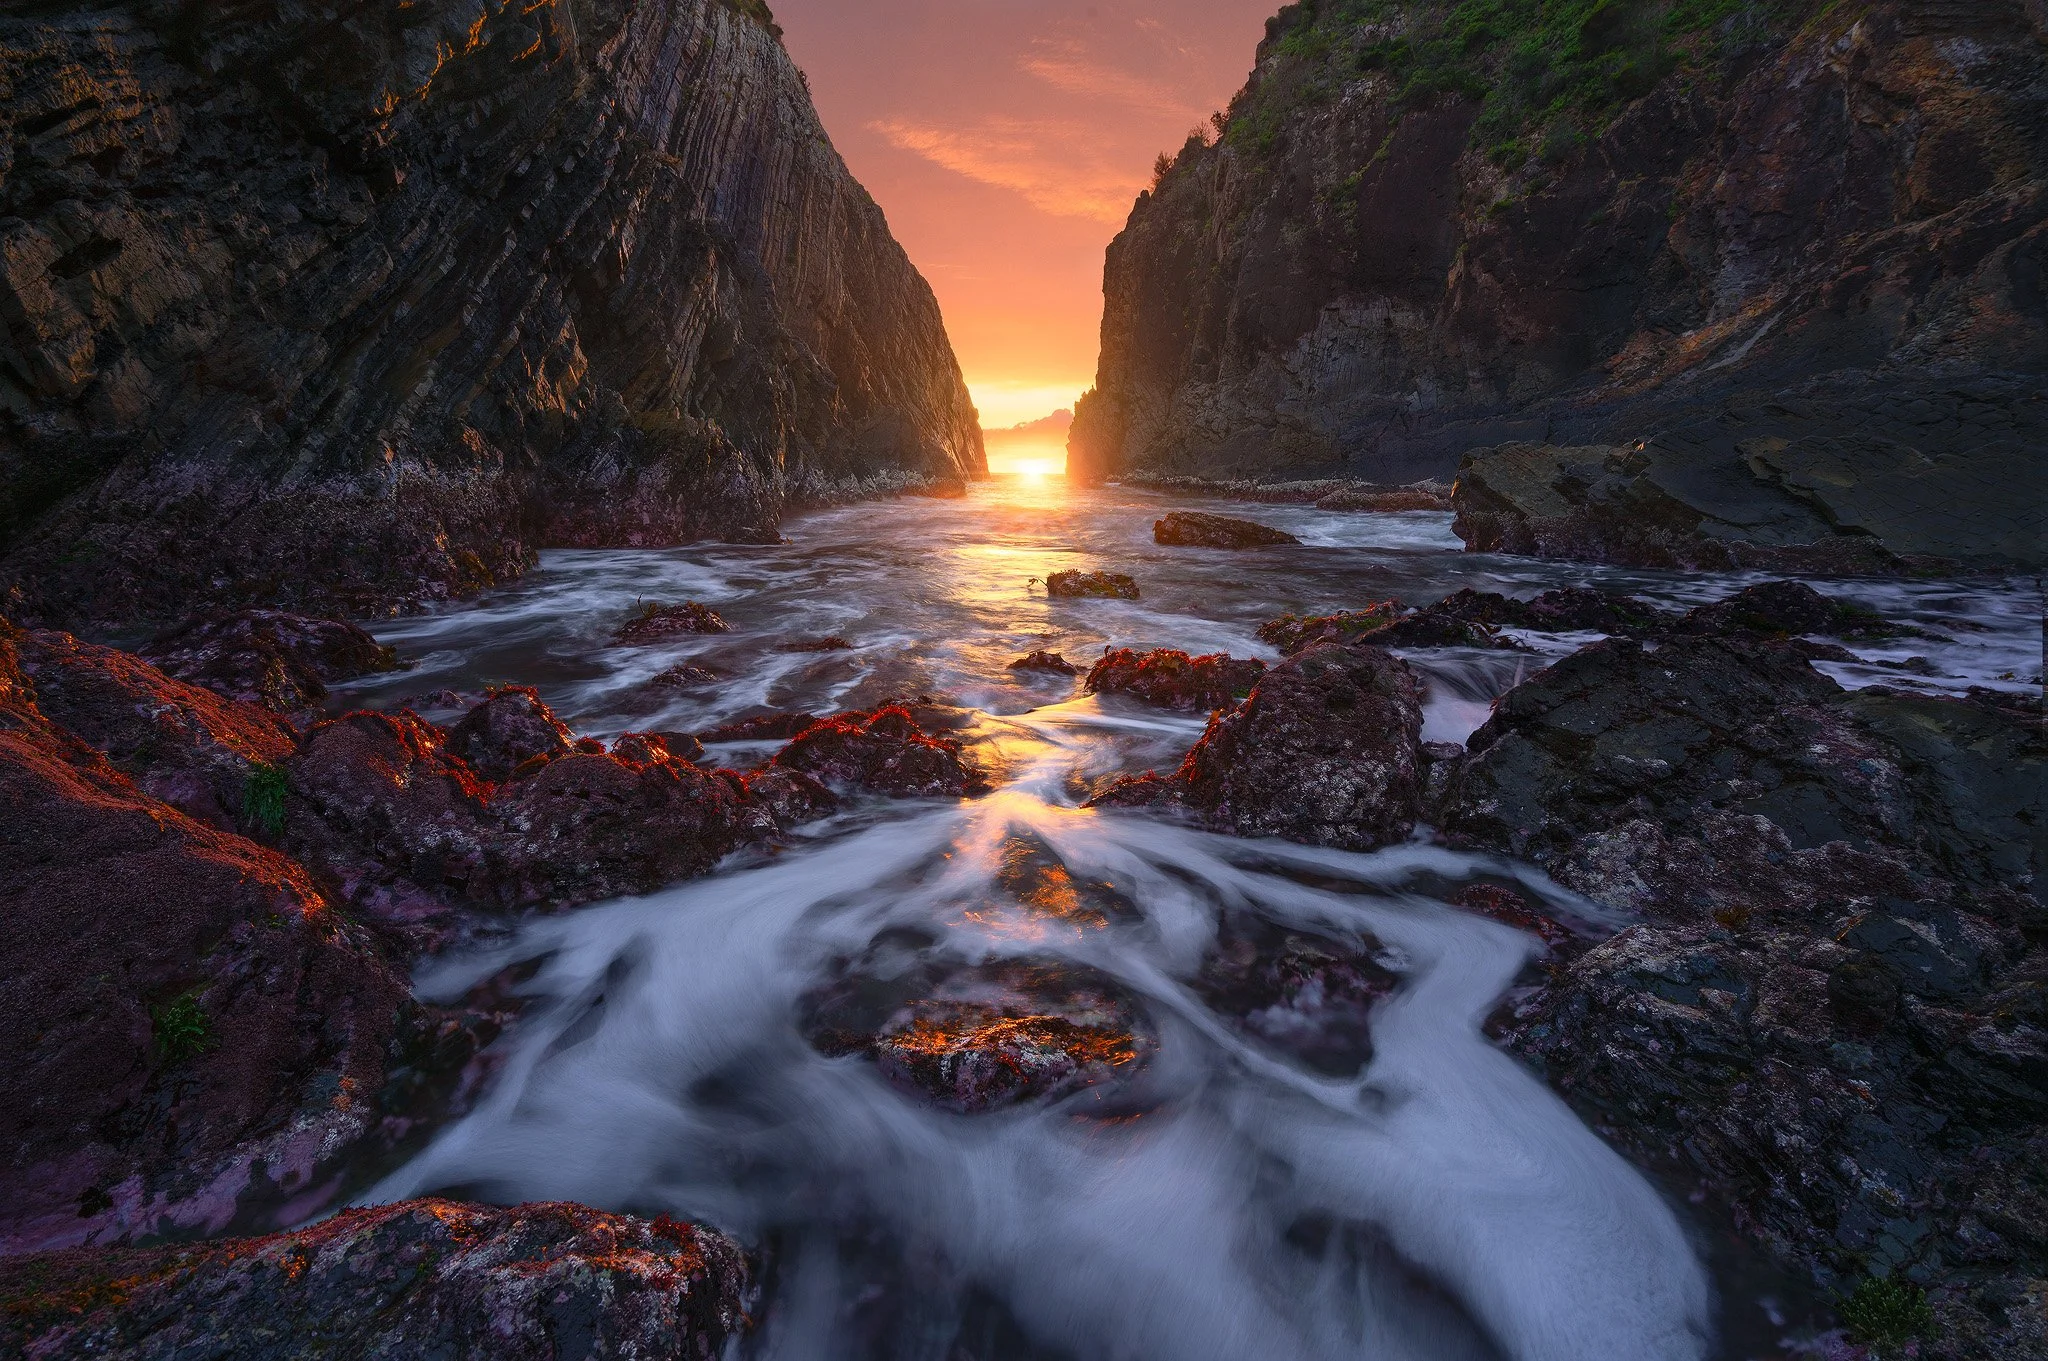
To create depth, think in layers. Include elements in the foreground, midground, and background to guide the viewer’s eye through the scene. This is especially effective in landscapes but works across genres. Layering also helps create a three-dimensional effect, making the image feel immersive.

An image to show effective FG, MG and BG components.

6. Negative Space

Sometimes, less is more. Negative space refers to the empty areas around your subject. By simplifying your composition, you give your subject room to breathe and become the clear focal point. Negative space is particularly useful in minimalist photography or when you want to highlight small subjects in vast surroundings.

7. Point of View (Perspective)

How you angle your camera can dramatically change the feel of your shot. Experiment with shooting from high above, low to the ground, or from unexpected side angles to add drama and uniqueness. Changing perspective can also help you see ordinary subjects in a fresh, creative way.

Tripod sitting low to get close to the water to exaggerate the size of the FG pool

8. Simplicity

Cluttered compositions confuse the viewer. Focus on keeping the frame clean and free of distractions to ensure your subject shines. A simple background can make a world of difference. When in doubt, remove unnecessary elements that detract from your main focus.

Final Thoughts

Mastering these rules can help you create impactful photographs that stand out. Remember, these are guidelines, not hard-and-fast rules. Once you understand them, you’ll know when breaking them can make your photos even better.

What are your go-to composition tips? Share them in the comments below!
Why Seascape photography?

Growing up on the East Coast of Australia the ocean was never too far away.
As I grew a passion for landscape photography the ocean became one of the biggest players in my photography journey.
I wanted to be able to express what I see in the ocean with how I take photos of it.
To show its power, How light reflects off the waters surface and how the ocean carves out its own compositions.

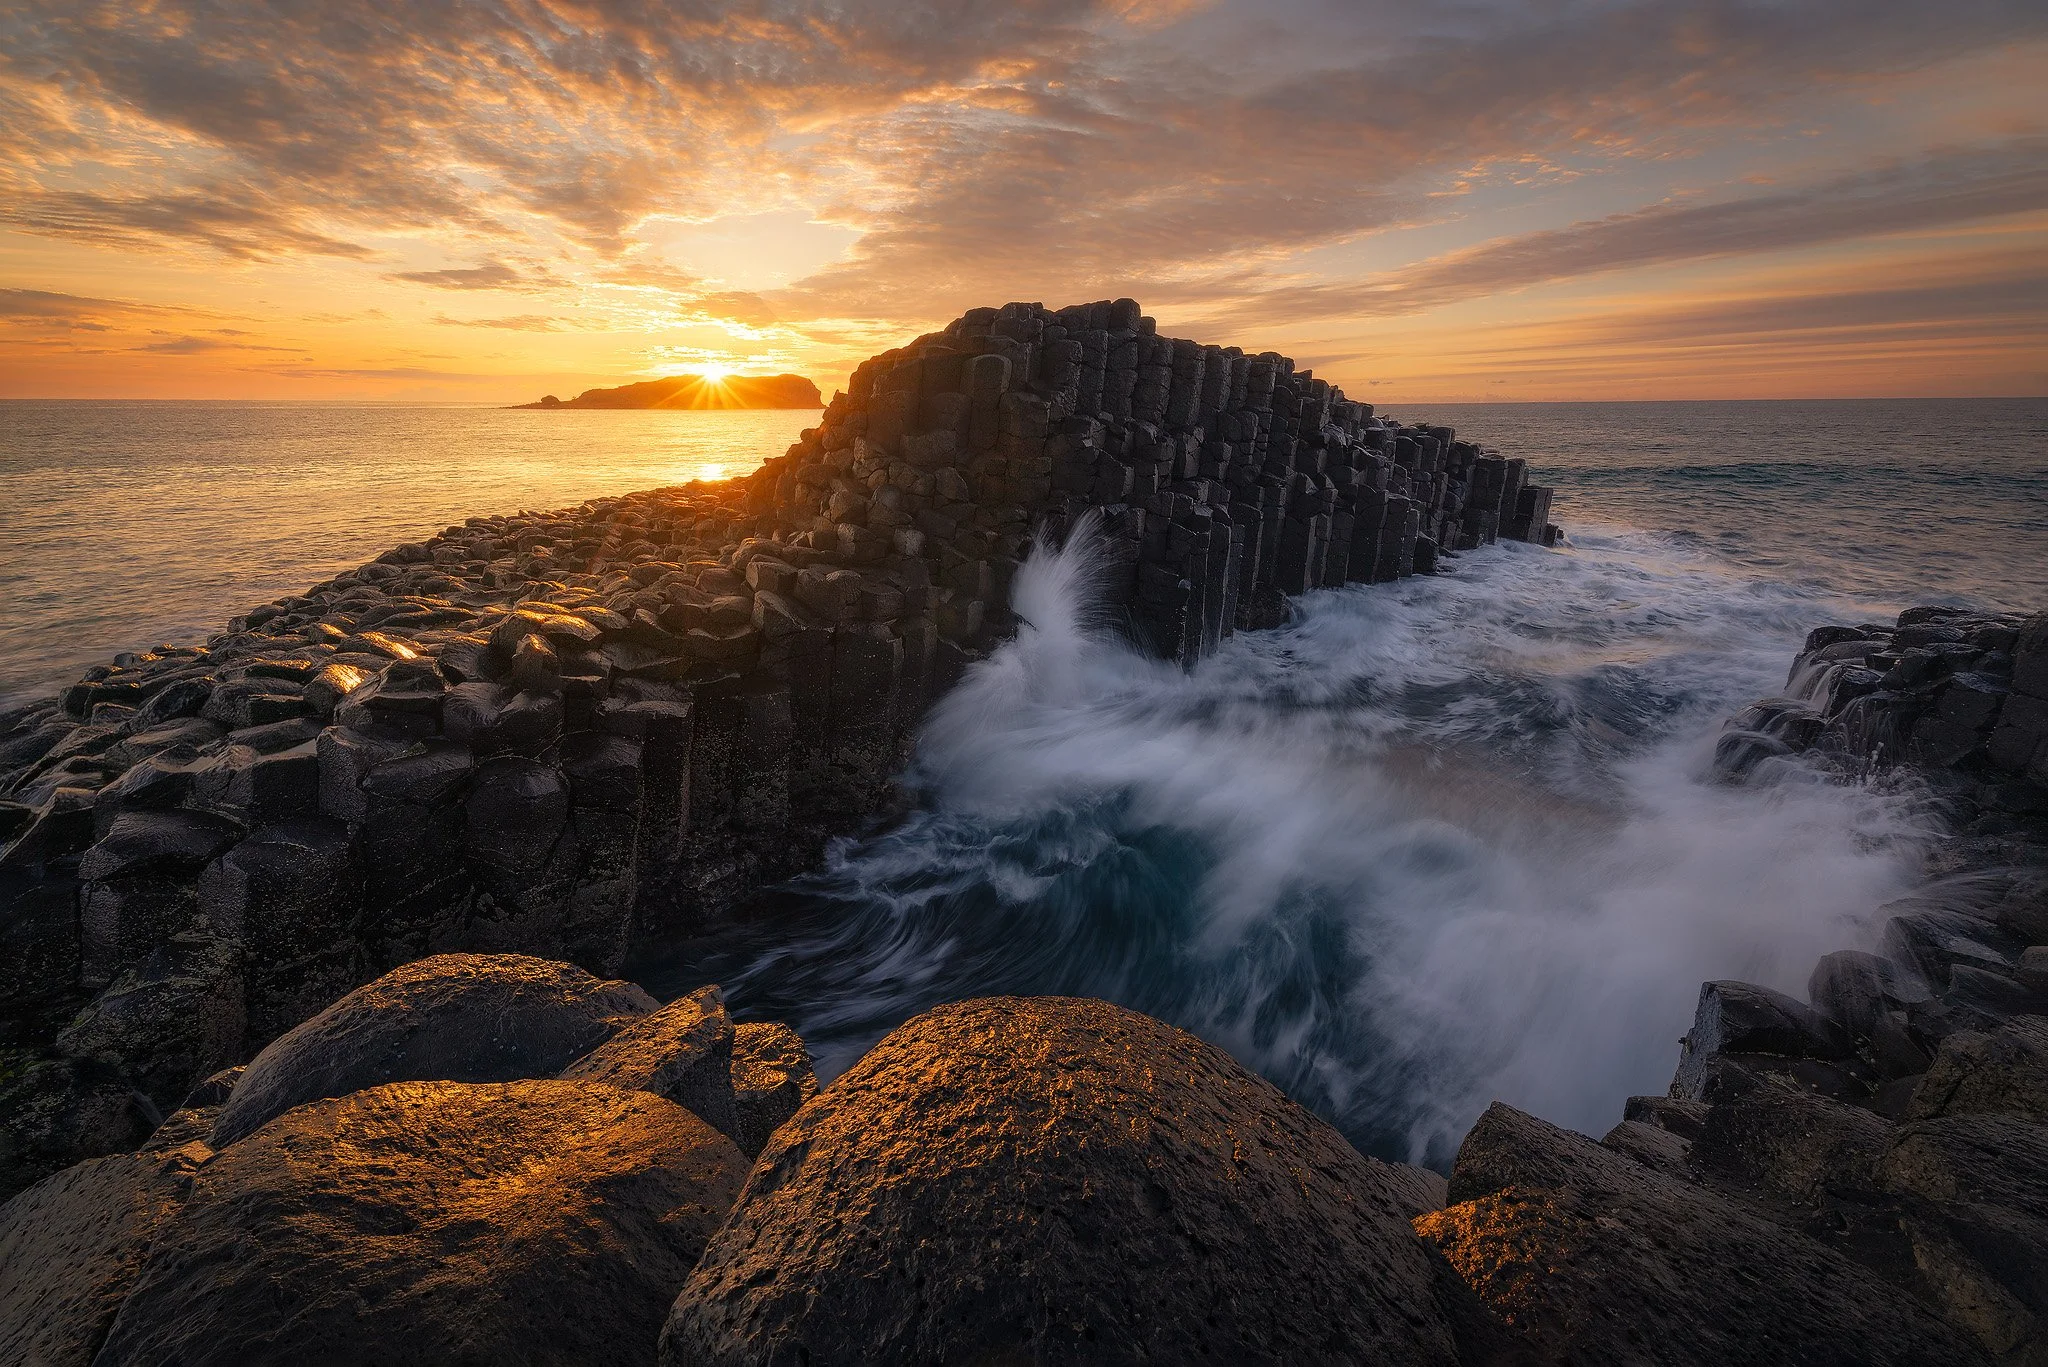
Slow shutter image taken at Fingal Head

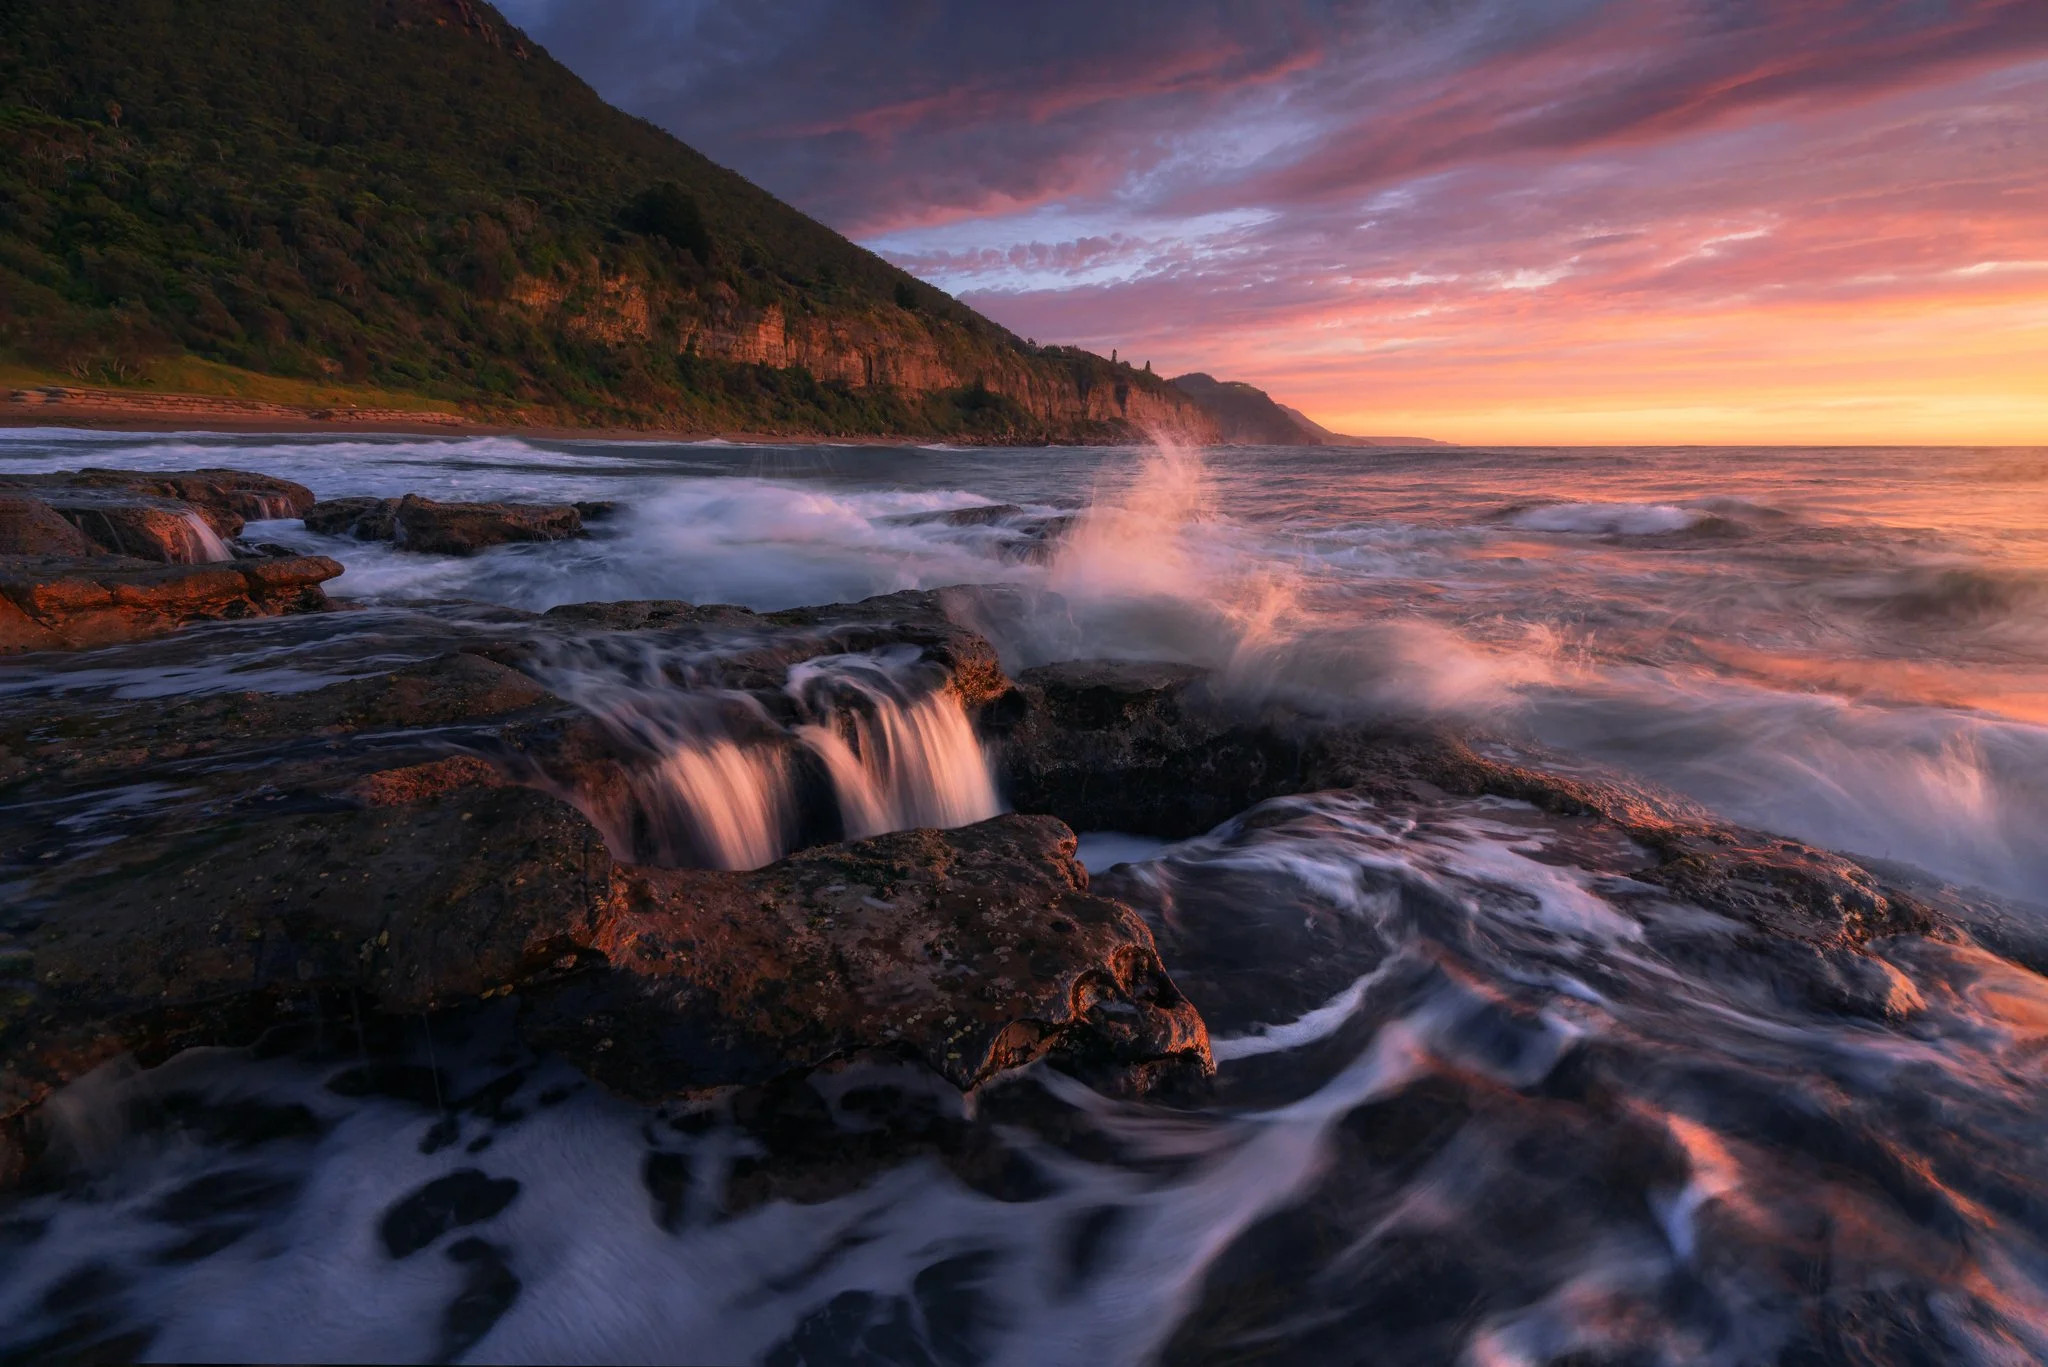
One of the key factors I love about seascape photography is making the moving element part of my composition, How the ocean retracts and creates its own flow trail or leading line. The image below shows how this can come into play, a slow shutter recording of how the water was trailing back into a sea well, This helps the eye follow this line to one of the key points of the image.

Slow shutter image taken in Wollongong, NSW

What comes in handy when taking Seascape images?
1) Although not necessary, the first thing I would recommend is a strong, waterproof and sturdy tripod. When using a trip make sure it is in a sturdy position before attaching your camera (or if its attached just double check it won’t easily fall over).
This is a great tool for going home with sharp images that have slow shutter speeds. you can also take images hand held but there is obviously some limitations.

2) Footwear, This is an important one. Having footwear with good grip is key, Even better if you buy waterproof shoes. I usually wear something along the lines of rock fisherman boots or reef shoes. The rocks out there can be real slippery or super sharp.

3) Cleaning gear will come in handy, I take a few things for this.
Number one for me would be an air blower, this is great for blowing sea mist or droplets straight off the lens without smudging your lens or filter, Another option is a microfibre cloth but I find after a while when this becomes damp it can smudge salty water around.
I tend to use clothes for covering or cleaning my camera body.

4) Apart from the most important things being your camera and lenses, the next biggest thing I recommend on all seascapes shoots is a CPL, I find this to be the most important tool in creating my images.
The CPL will cut down all the unwanted glare and to help you produce those dreamy scenes.

When should you go?
Really, Anytime. Photography is subjective so it depends on the story you are trying to tell but for me there are certain times the I and probably most of the photography world like to shoot at and this is around sunrise and sunset.
At these times the light is low, the sun is golden and the clouds and oceans do special things when they reflect colour. With the light being lower there is a lot less glare hitting the ocean and your CPL with thank you for this.

Although golden hour is the most popular time to go, another fantastic time is around night time and during the astro period. For this type of photography you will need to set up a tripod and be taking images that could be around 30 seconds long. while your shutter is open your sensor will be taking in all the light possible to expose that beautiful starry night sky.

With this you should know you surroundings, it will be dark and it may be hard to know if a wave is approaching but the outcome will be incredible. Setting up your composition at blue hour could be really helpful as you will still have some light to line up the shot. Imagine that sea stack image you were taking at sunrise but instead of a golden sun it has the Milky Way spreading from one corner to the other.

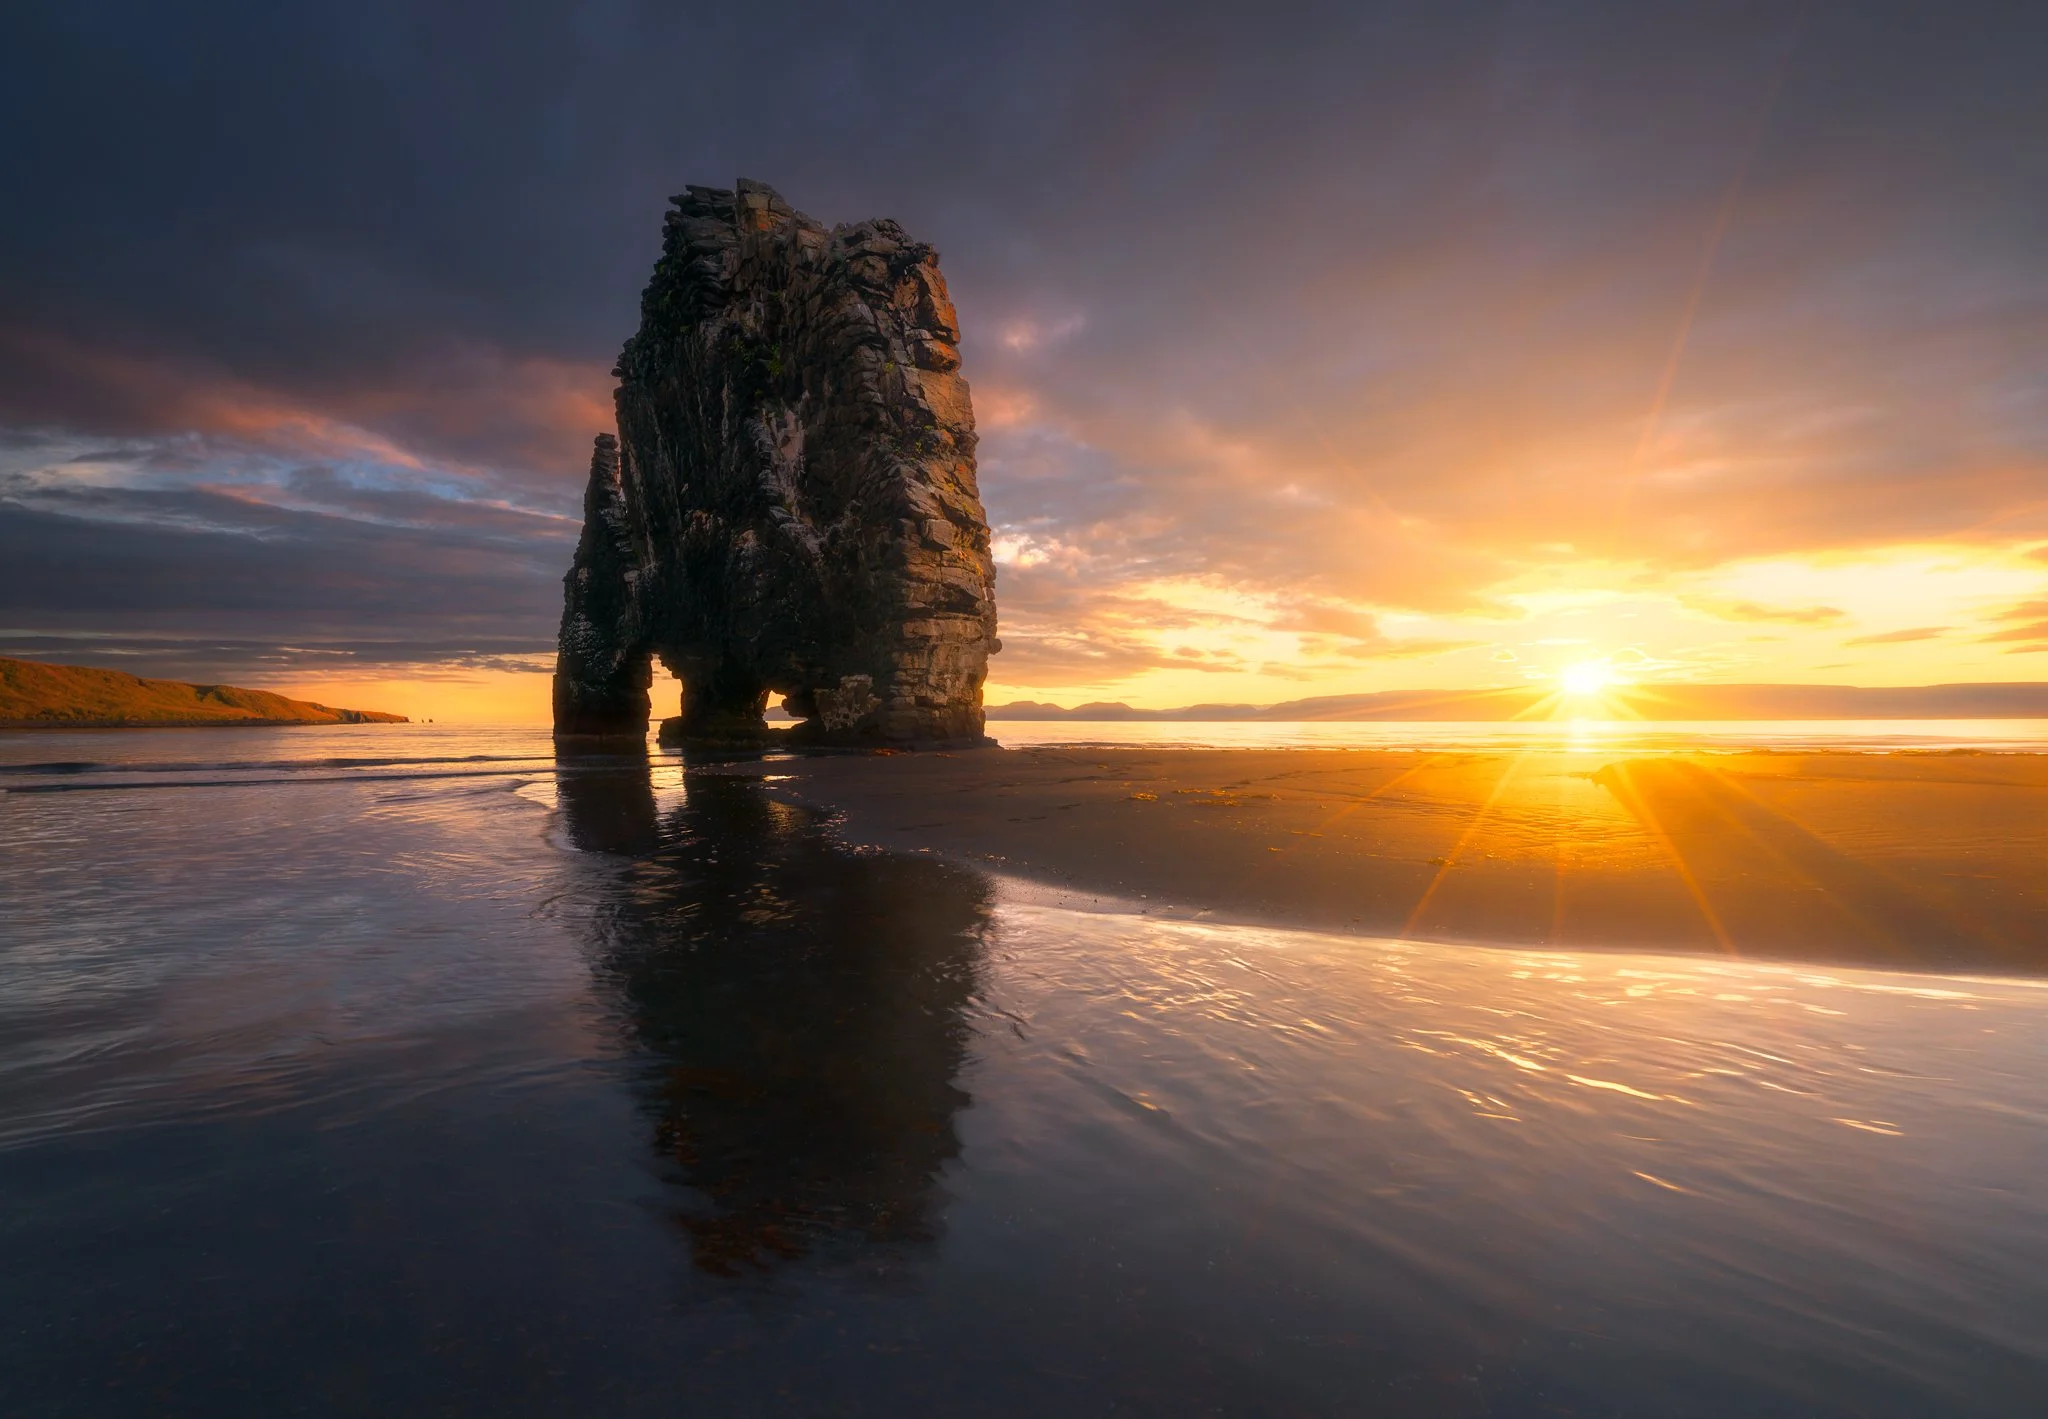
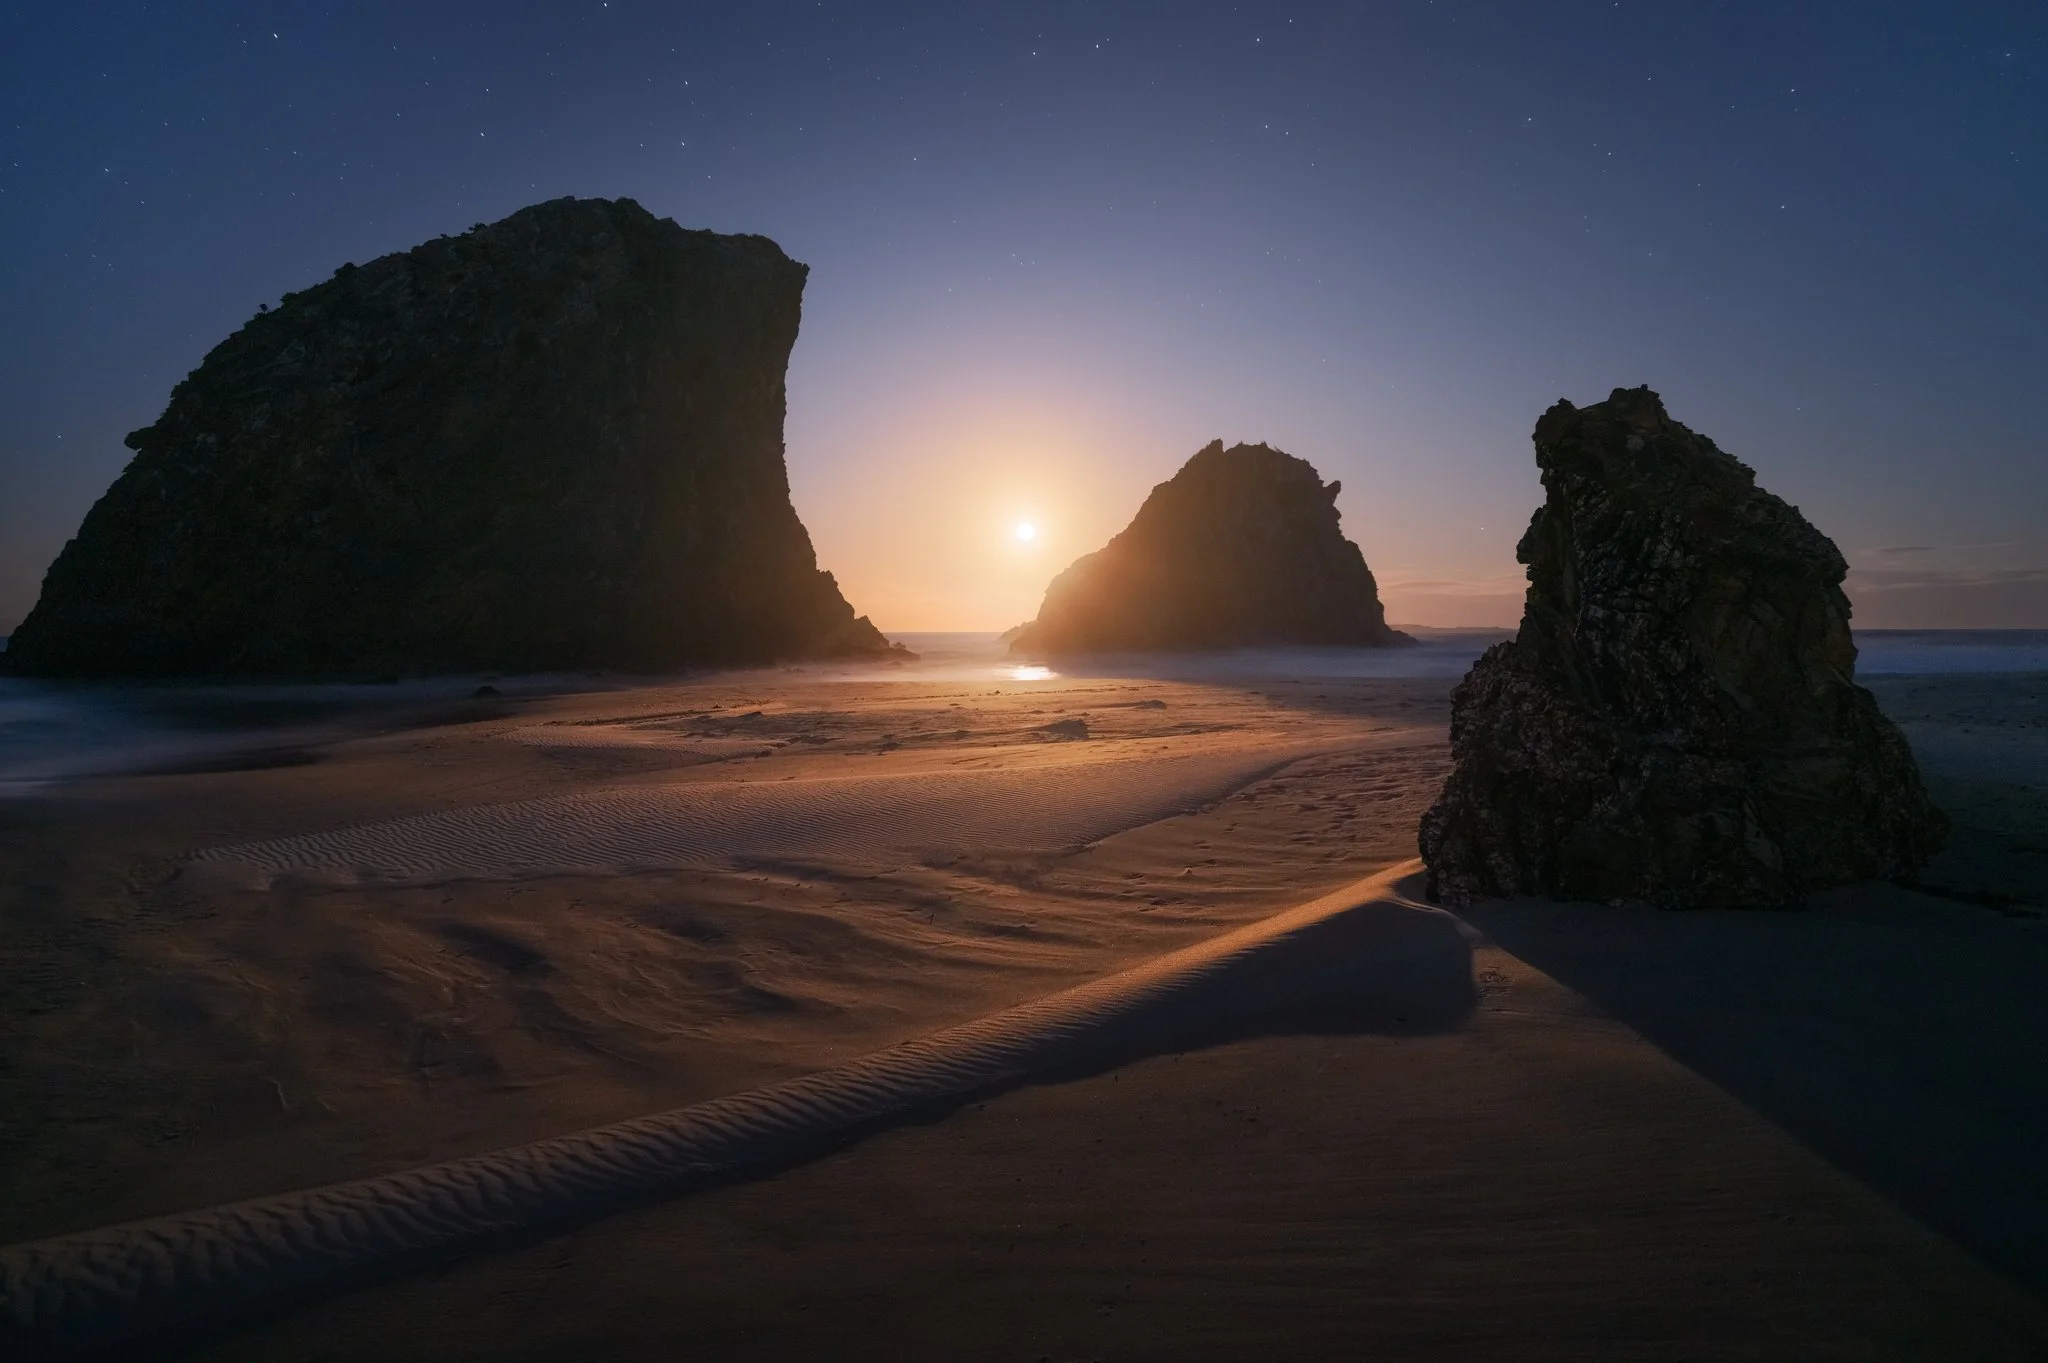
Another example you can try is moonrise or moonset photography. Depending on where you live will depend on which one will face the ocean, unless you live on a north or south coast and you have the opportunity to see both. Below is an example of a moonrise on a cloudy night. Typically I like clear nights for this but I think the way it lit up the surrounding clouds it really added something special. but this just shows another way you can get creative with your seascapes.

Check the conditions!
When it comes to seascape photography there are a few things to keep in mind when you plan your shoot.

1) Tides play a big part in your planning, not only for a safety reason but also because of the way the water may play a part in your composition or where you can position yourself on the shore or rock shelf.

2) An important part of planning your shoots is tracking the weather and cloud forecasts.
An online app I like to use is CloudFreeNight.com, With this app you can see how the cloud prediction is looking before you head out by breaking down the forecast to high, mid and low cloud. This is very handy for all shoots to know if its going to be that clear night for your astro shoots or if the sky will be filled with that nice high-mid cloud for your sunrise shoots.

Example of cloud coverage on cloudfreenight.com

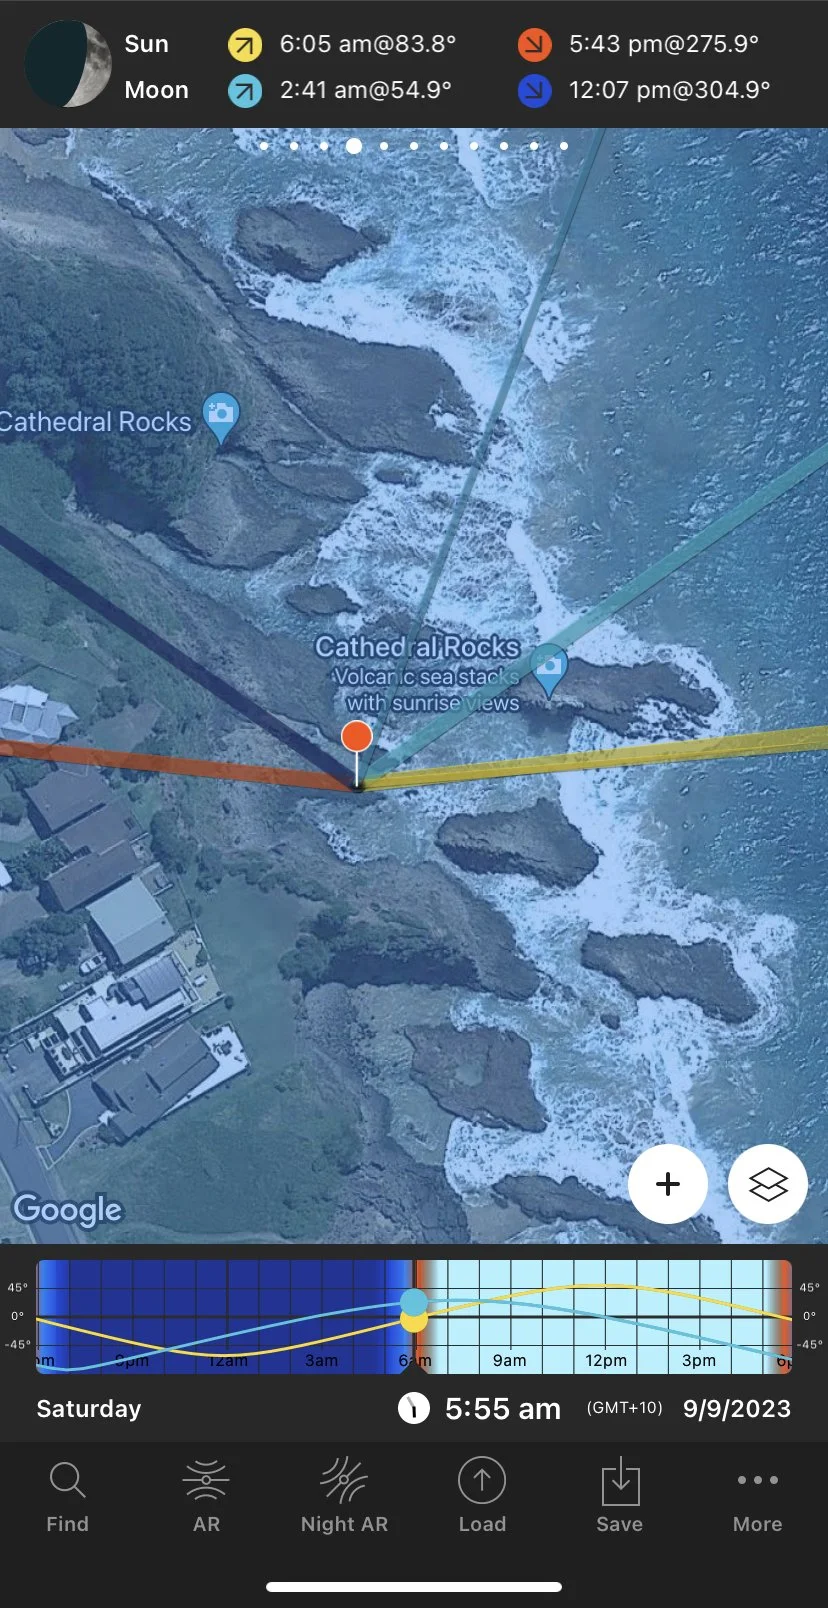
3) Planning your composition is something you can do ahead of time, Thanks to apps like PhotosPills you can pin point the exact spot you want to stand and see how it lines up with the Sun/Moon direction and even the Milky Way position.
Further more you can see other great information like sun/moon rise times, Live AR to track the milky way position in real time to see how it lines up with objects in front of yourself, Timers and even exposure calculators.

Example of the sun position in PhotoPills

Settings and techniques.

Lastly lets talk about settings and how your images will react to these changes.
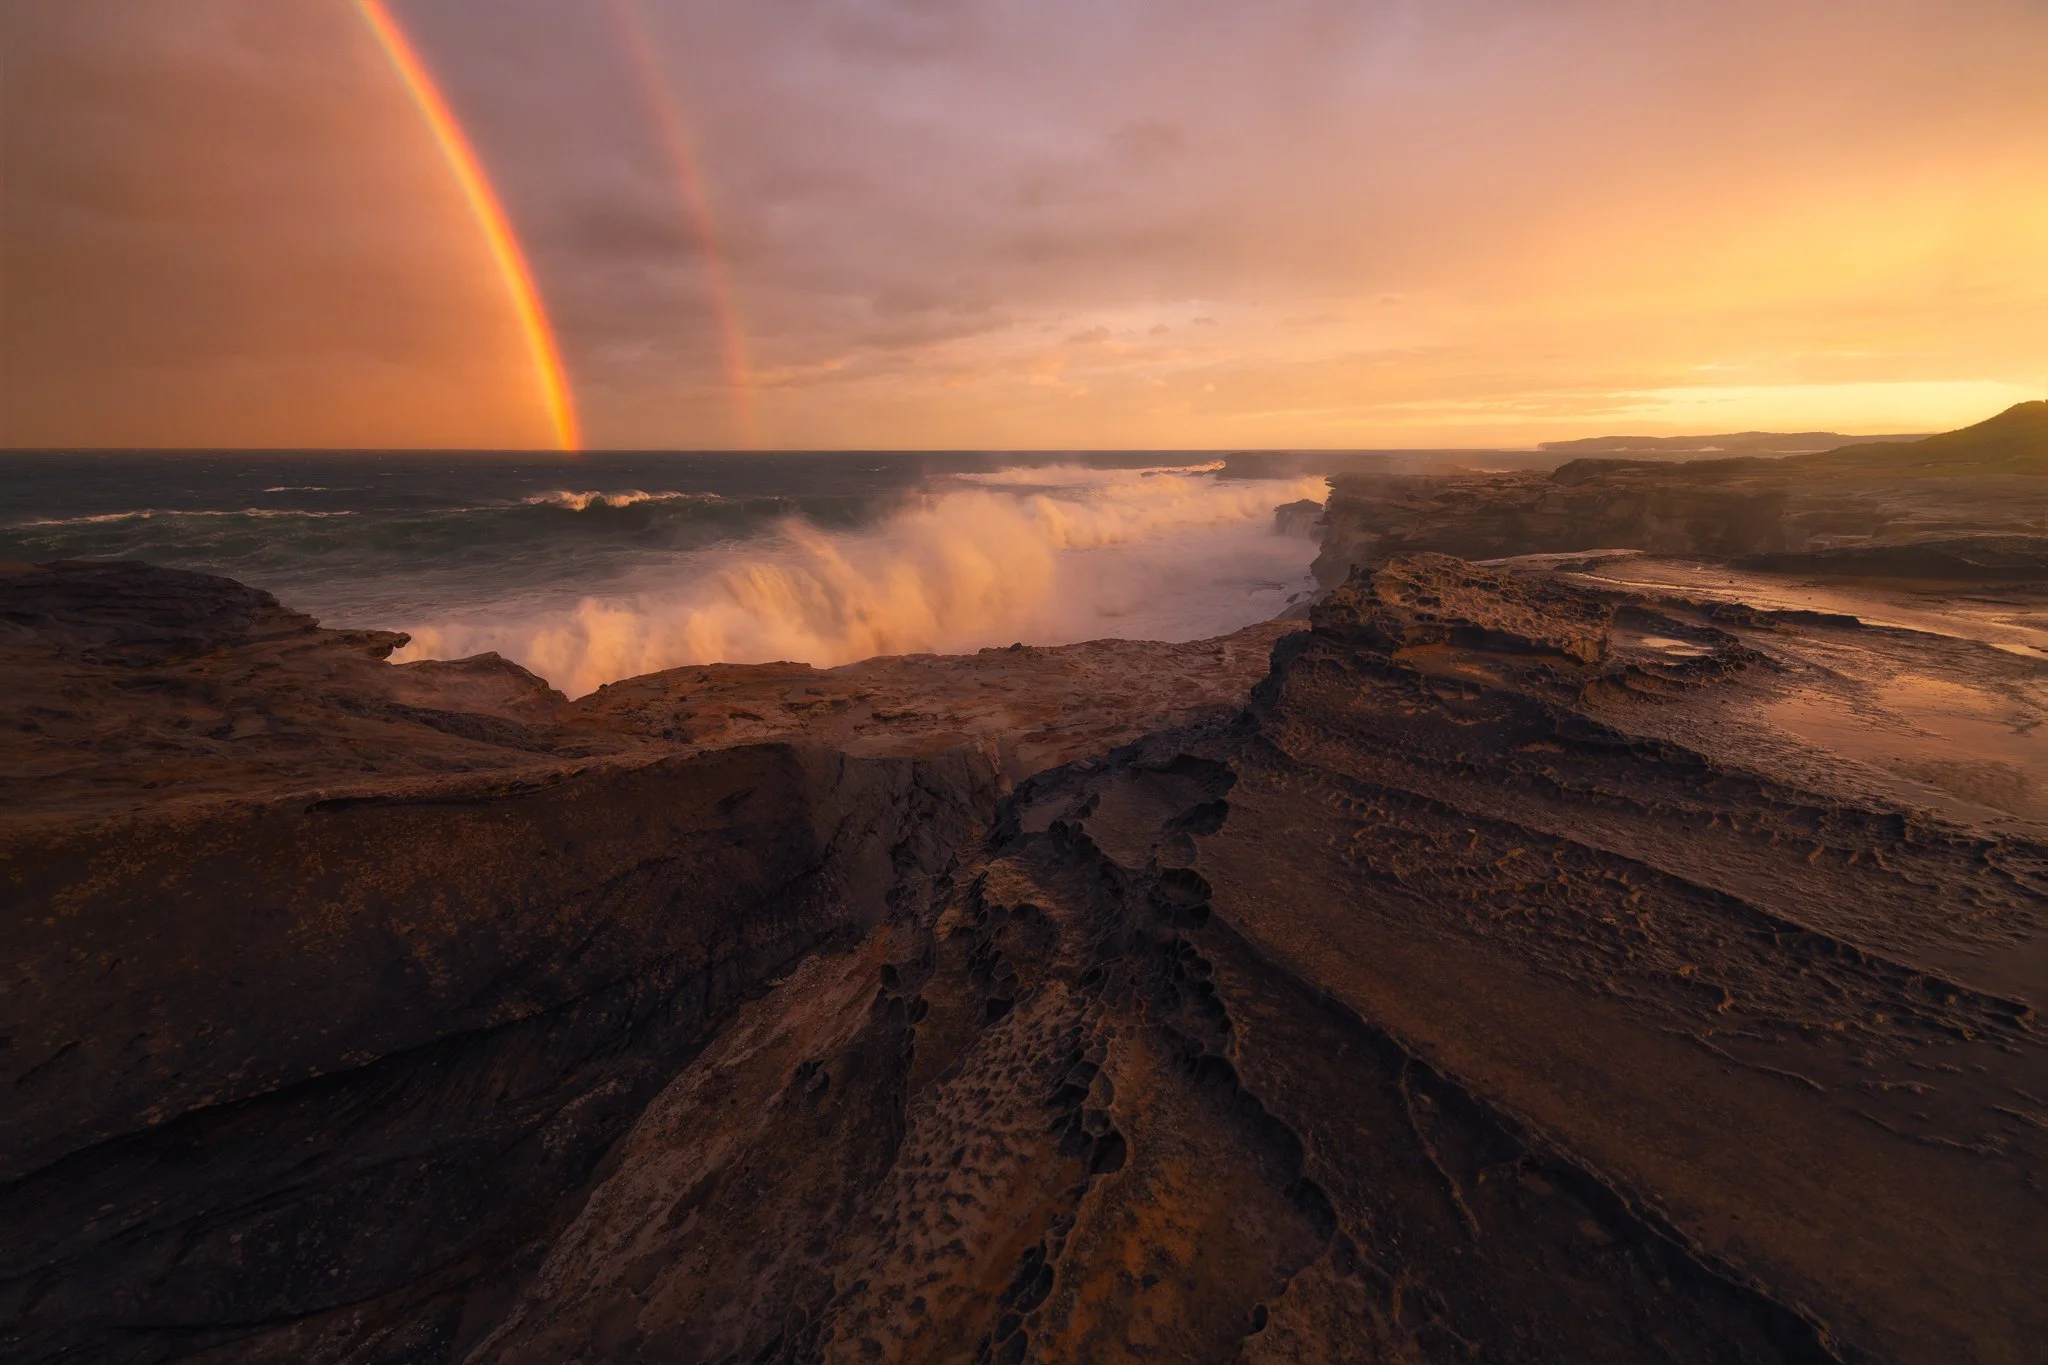
The water is a great subject for seeing how exposure time changes your image, with just the change of exposure you can convert a wild wavy image into a peaceful dreamy scene.

To get these softer dreamy scenes you may be looking at a exposure time of 10-30+ seconds, while lots of my images you see in this article are shot between the ranges of 0.5 seconds - 1/8 of a second.

see two images below for examples of shutter speed times

Image shot at 10 seconds during sunrise

Image shot at 1/6 of a second during sunrise

Conclusion.
Keeping in mind of all the things written above, the most important thing you can do is to get out there and have fun. The best way you can learn photography is by just getting out into nature, practising different techniques and seeing how your exposures react when you change settings.

I hope you have enjoyed this short blog and have learnt something new or hopefully it has inspired you to get out and enjoy the ocean

Stay safe and i’ll see you out by the shore.

If you have enjoyed this article please leave a comment below on what your thought of it and what you would like to see in the future.